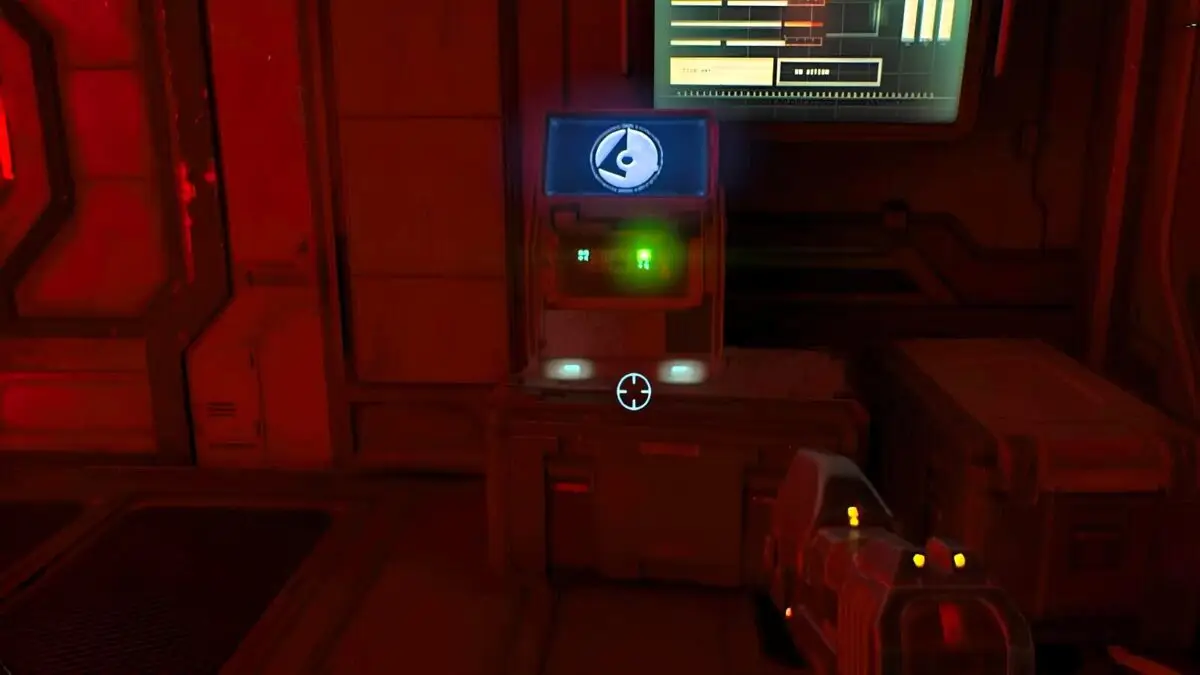

There are 13 Halo Campaign Evolved Terminal locations, with one hidden in each main campaign and bonus mission. Activating all of them unlocks the Lore Have Mercy achievement or trophy and adds every entry to the Collectibles menu.
Terminals display a red light before activation and a green light after you collect them. You can find them on any difficulty and return through mission selection if you miss one.
All Terminal Locations in Halo: Campaign Evolved
Click a link below to jump to a specific mission guide.
| Mission | Terminal |
|---|---|
| The Pillar of Autumn | Approach |
| Halo | Forgotten |
| The Truth and Reconciliation | Inquisitor |
| The Silent Cartographer | Status Update |
| Assault on the Control Room | Tangent I |
| 343 Guilty Spark | Tangent II |
| The Library | Tangent III |
| Two Betrayals | Alone |
| Keyes | Consumed |
| The Maw | Arrival |
| Boarding Action | The Path |
| The Most Dangerous Game | Penitent Report |
| Heavy Burden | Harmonious Clarity |
The Pillar of Autumn (Approach Terminal Location)
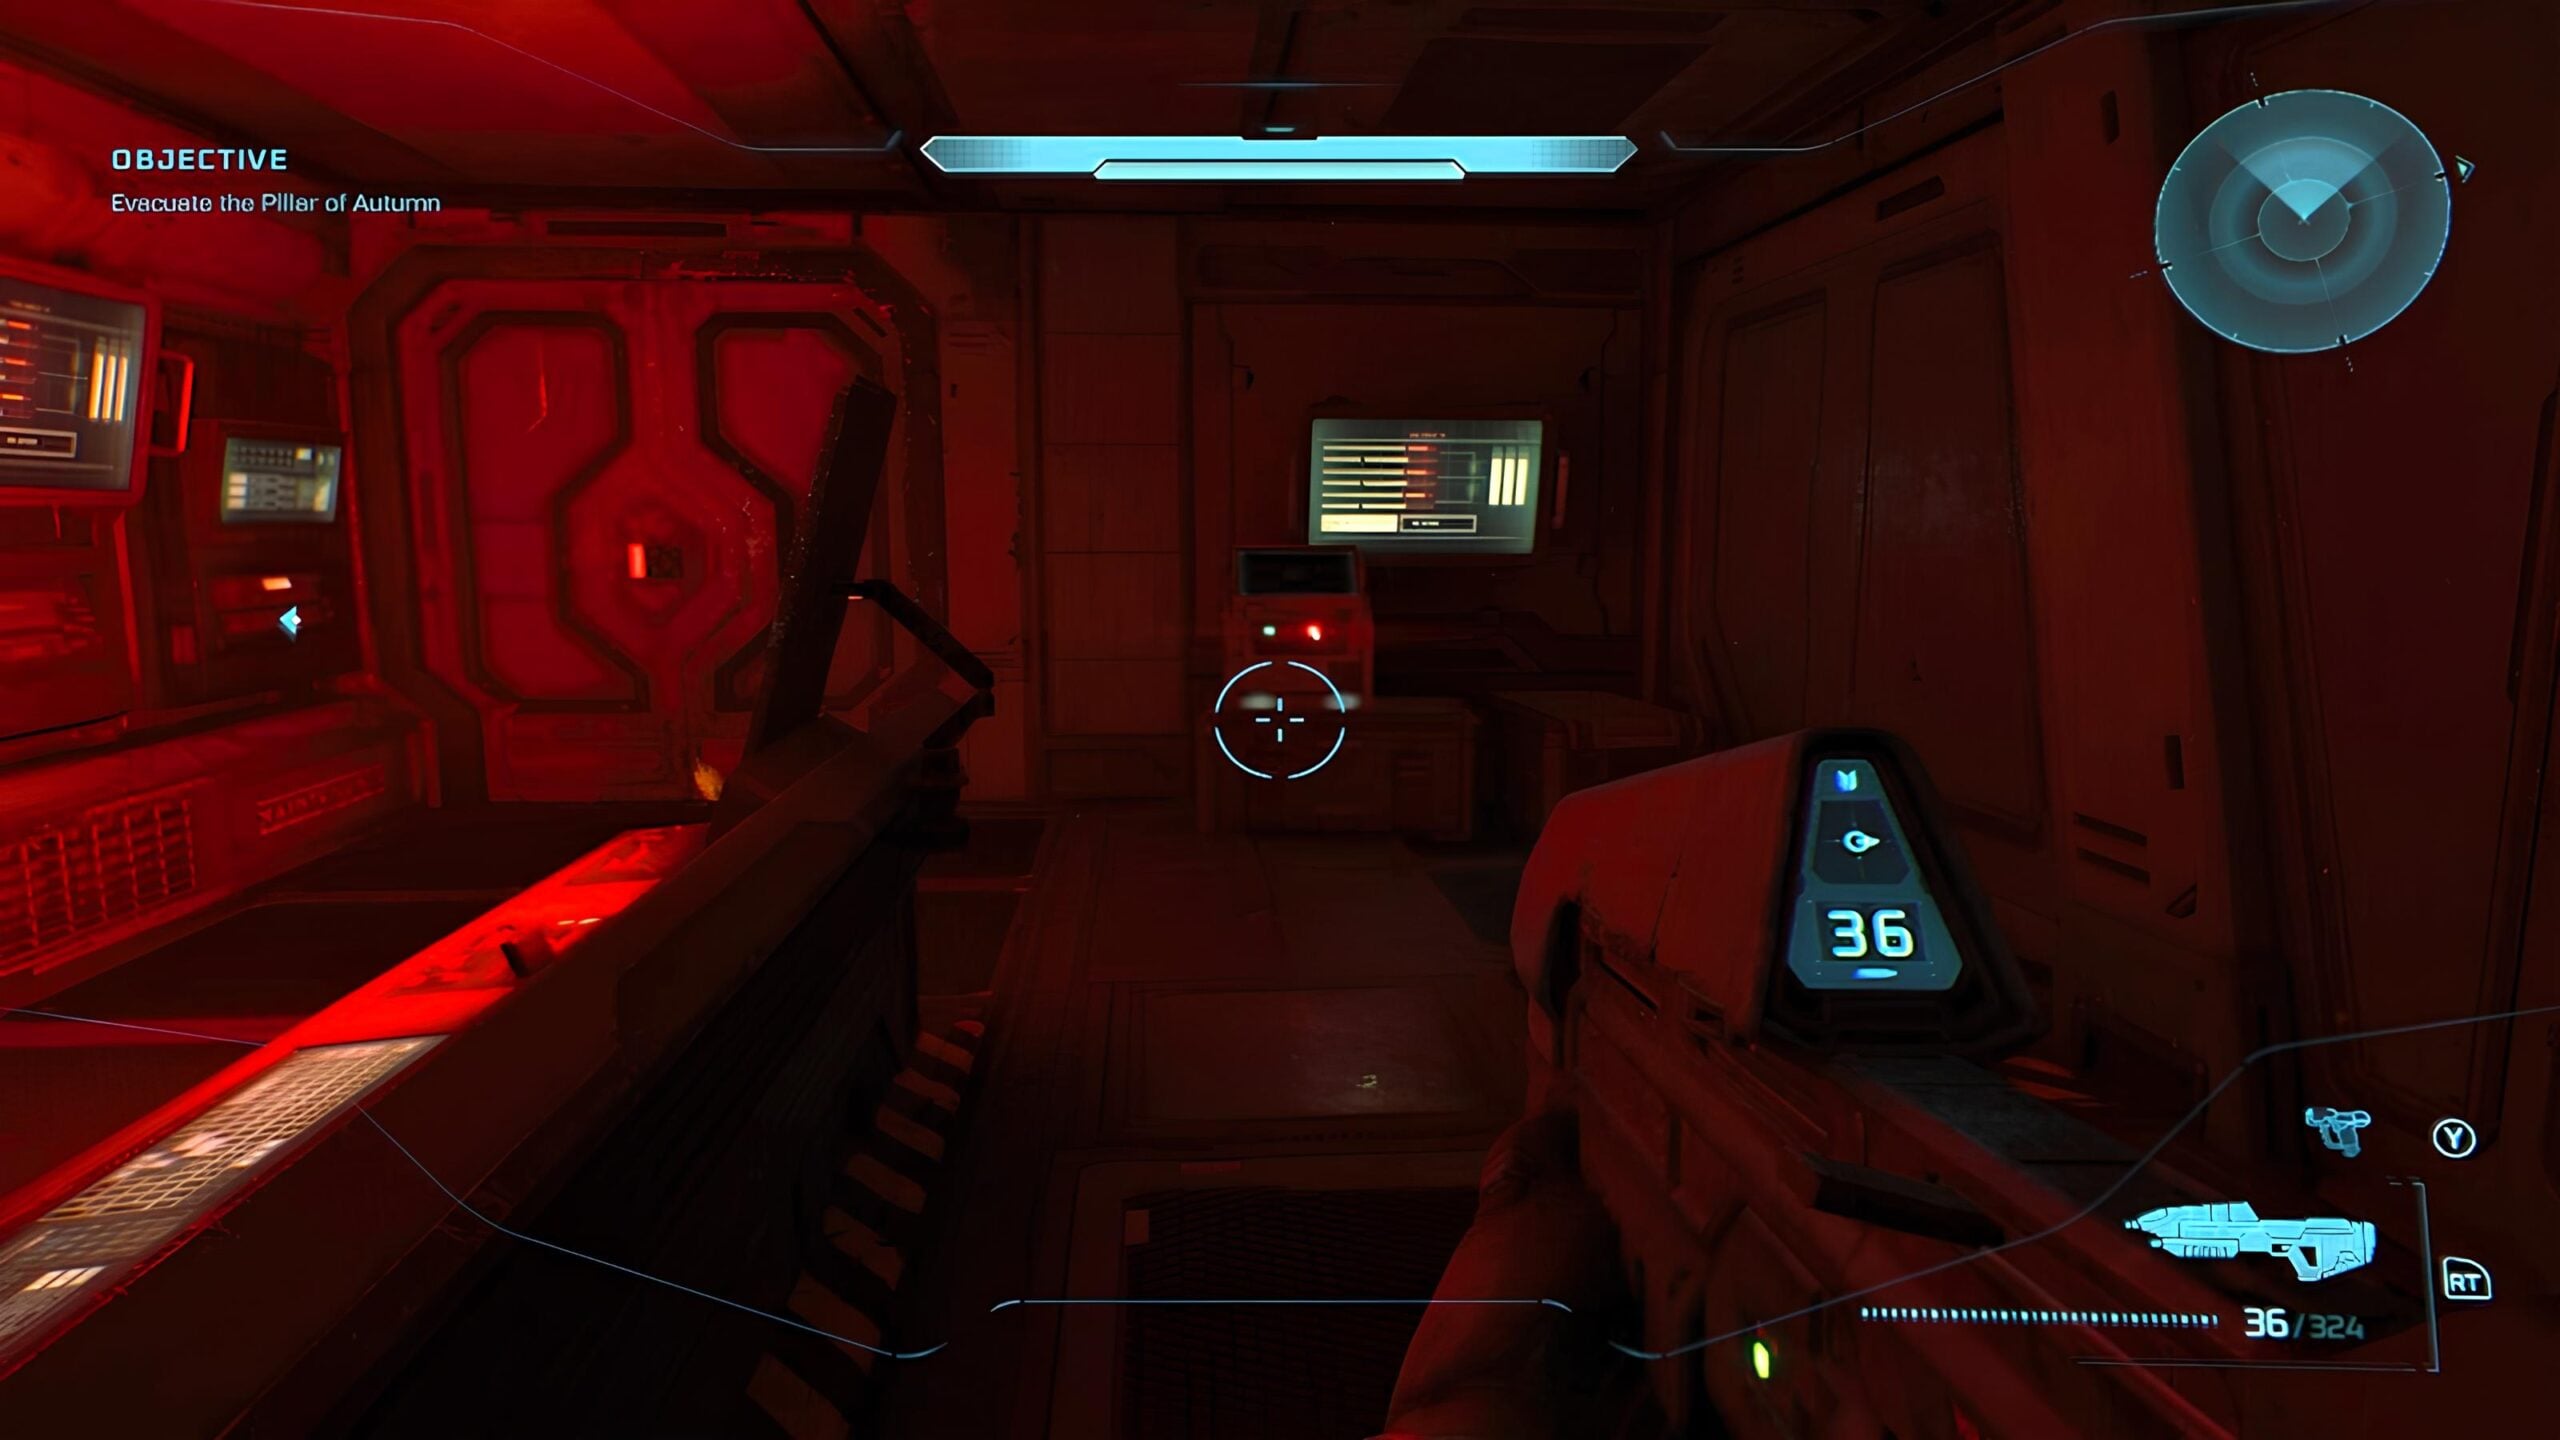
Continue from the cryo chamber until Cortana mentions that the Covenant tried to catch Master Chief while he was sleeping.
You should be standing in an observation or control room overlooking the cryo chamber. Leave through the door on the opposite side of the room, then immediately turn left.
Enter the open room illuminated by red lighting. The Approach Terminal is positioned against the back wall.
Halo (Forgotten Terminal Location)
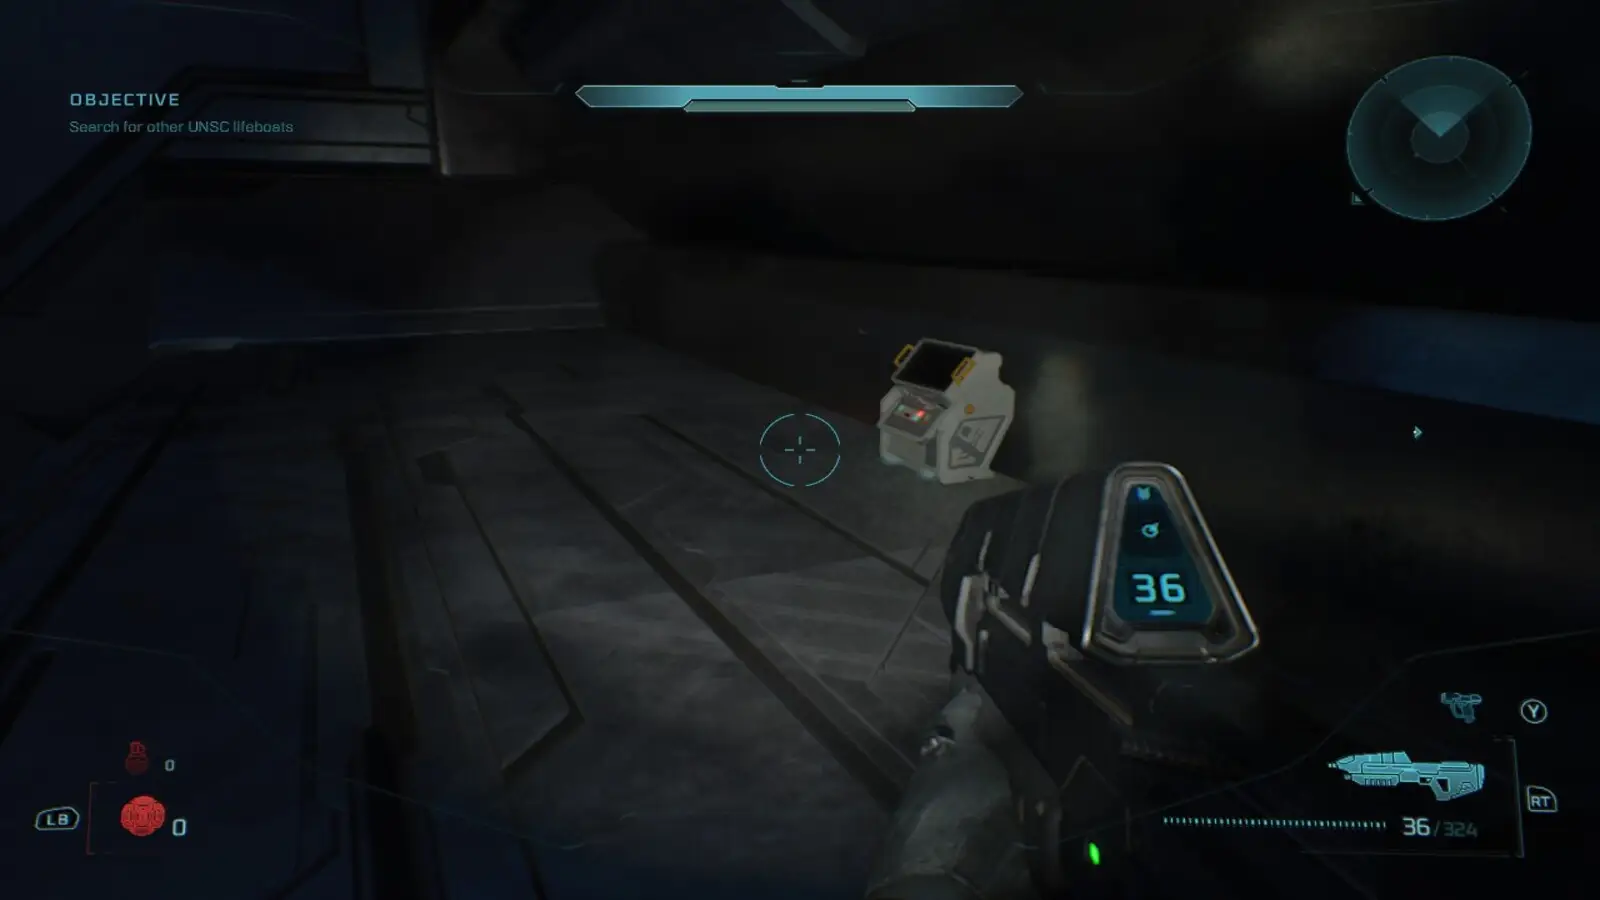
Continue through the mission until you receive the Warthog and begin driving toward the Forerunner tunnel network.
Enter the tunnels and follow the route around the first two turns. After driving over the ramp, stop the Warthog instead of continuing deeper into the structure.
Look to the right side of the roadway for an opening in the wall. Climb up and carefully drop onto the narrow ledge below.
The Forgotten Terminal is positioned near the middle of the lower ledge.
The Truth and Reconciliation (Inquisitor Terminal Location)
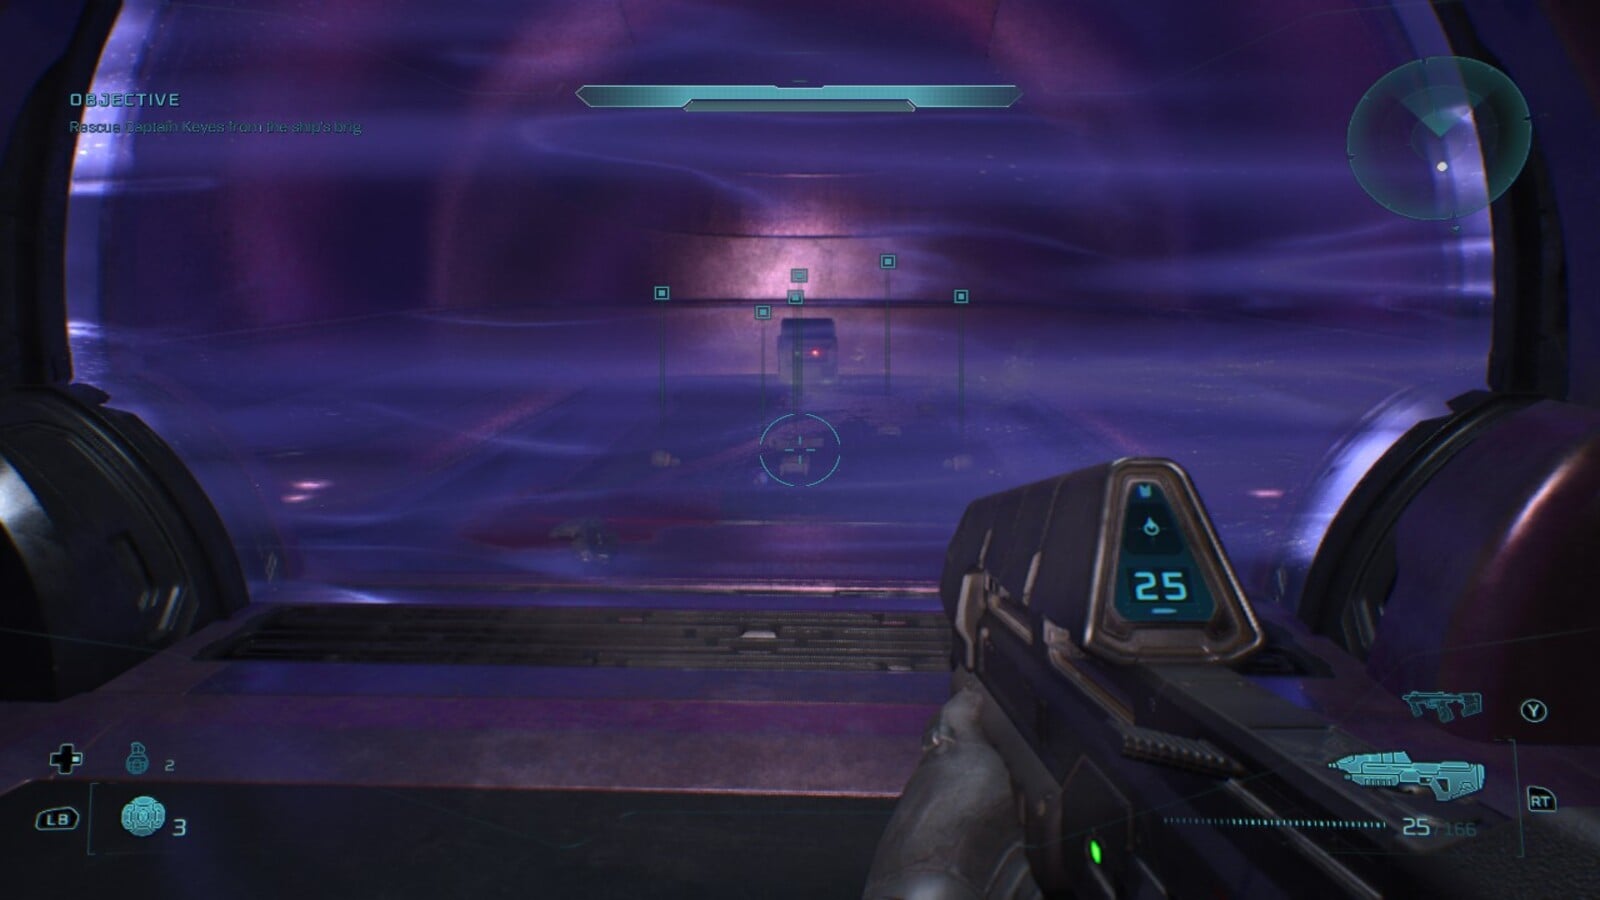
The Inquisitor Terminal is aboard the Covenant ship during the later portion of the mission.
Continue until you reach the detention area containing the holding cells. From the room outside the cells, take the doorway to the right of where you entered.
Walk through the hallway and enter the second door. You’ll enter a room with holding cells. You can look inside each holding cell until you verify you found the one with the terminal location. Activate the console on the left side of the entrance to open or deactivate the cells.
The Inquisitor Terminal is mounted on the rear wall of the cell.
IMPORTANT: Do not activate the holding cells with Keyes as you will enter a cutscene and won’t be able to open the cell where the terminal is located.
The Silent Cartographer (Status Update Terminal Location)
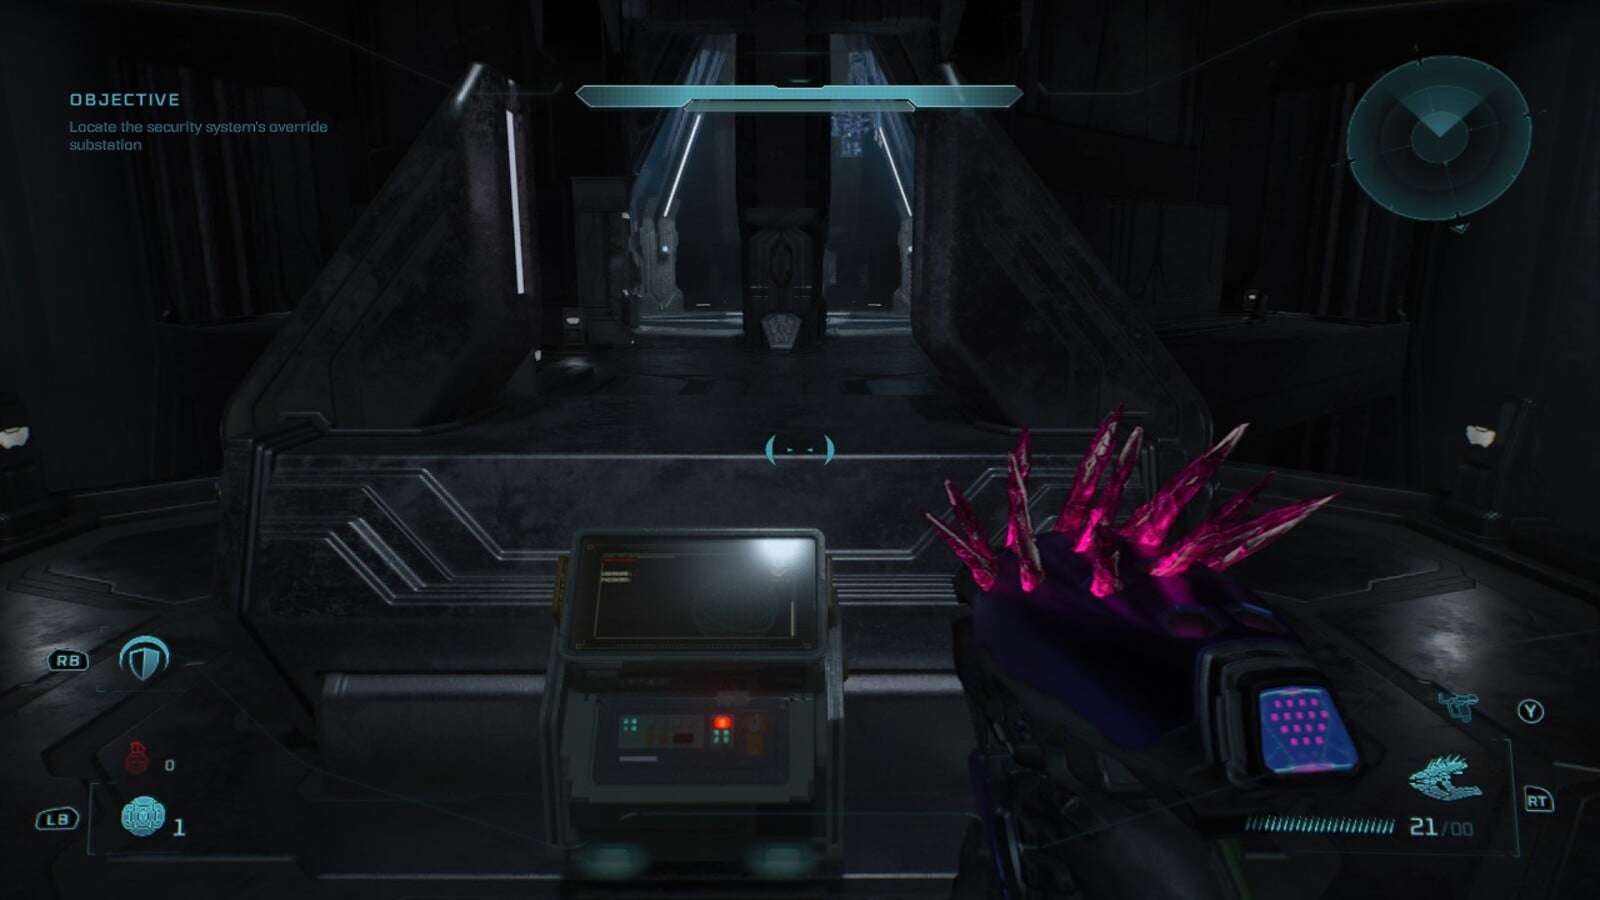
Continue through the island until you must unlock the door that eventually leads to the Silent Cartographer.
Defeat the Hunters and enter the hallway behind their position.
Walk past the nearby holo console and continue to the back of the area.
The Status Update Terminal is hidden behind a short dividing wall near the rear of the room.
Assault on the Control Room (Tangent I Terminal Location)
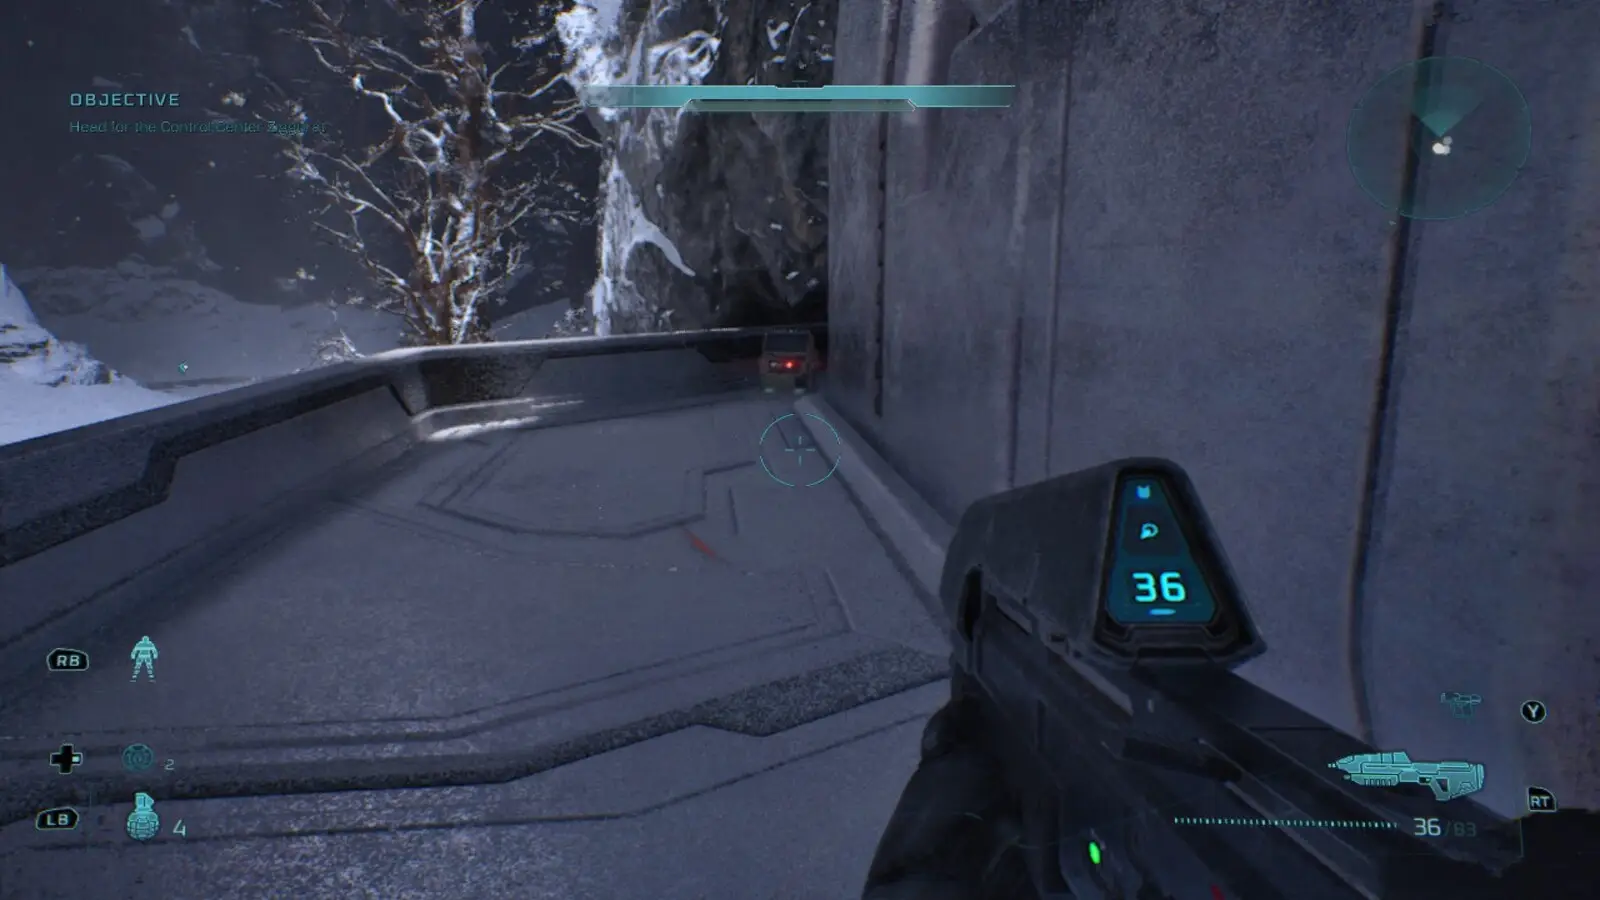
The Tangent I Terminal is found after collecting the IWHBYD Skull and reaching the Rolling Thunder checkpoint.
Continue up the long snowy hill until a Covenant dropship arrives and deploys more enemies. At this point, your objective should read Head for the Control Center Ziggurat.
Clear the area, then look for the nearby Forerunner structure built into the rocks. Enter through the doorway and defeat the enemies inside.
Follow the interior ramp to the upper level, then turn right at the top. The Tangent I Terminal is positioned in the corner at the end of the walkway.
Nearby Wraiths may continue firing into the area, so destroying them before entering can make the search easier.
343 Guilty Spark (Tangent II Terminal Location)

During Escape!, leave the first elevator room and enter the nearby chamber with the light bridge. Go through the doorway marked by white symbols on both sides. Tangent II is in the next room with the dead Marines and shotguns, hidden behind the central dividing wall.
Collect it before continuing through the door on the opposite side, since that route leads to the objective elevator room and prevents you from returning. If you take the elevator down, you’ve gone too far.
The Library (Tangent III Terminal Location)

Ride the first elevator and survive the Flood attack while 343 Guilty Spark opens the locked door.
Continue through the opened door and enter the next central room. There are two interactive consoles inside.
Use the console on the left to open the door, then search the edge of the room on the left for a doorway blocked by Flood biomass. Destroy the growth covering the entrance.
Enter the newly opened room. The Tangent III Terminal is positioned beside the body of a fallen Reclaimer.
Two Betrayals (Alone Terminal Location)

The Alone Terminal can be collected almost immediately after the opening cutscene.
Listen to Cortana’s explanation of 343 Guilty Spark’s plan, then destroy the Sentinels attacking you after control returns.
Walk behind the large holographic display in the control room. The Alone Terminal is positioned against the wall directly behind it.
Keyes (Consumed Terminal Location)

Board the Covenant ship and continue until you reach the large shuttle bay.
Drop to the lowest floor and locate the door where the objective marker is pointing you. Enter and follow the corridor until you reach an intersection.
Turn left, then immediately turn left again. This should take you to a room with three red locked doors. The Consumed Terminal is positioned against the sealed door at the end of the short passage.
See our guide if your game crashes during this mission.
The Maw (Arrival Terminal Location)
Return to the Pillar of Autumn and continue through the mission until you enter the ship’s cafeteria.
Look toward the middle-right section of the room. Two broken vending machines are mounted along the wall.
The Arrival Terminal is positioned between the two machines.
Boarding Action (The Path Terminal Location)
Progress through the Covenant ship until Sergeant Johnson says he will get a disabled lift working.
Wait for Johnson to reverse the lift, then ride it to the upper floor.
As soon as the lift stops, turn completely around. Go through the doorway positioned behind and to the right of the lift.
The Path Terminal is mounted on the wall directly inside the room.
The Most Dangerous Game (Penitent Report Terminal Location)
Continue through the Covenant facility until you reach the UNSC armory room. Follow the mission route deeper into the ship.
You will eventually enter a room containing two possible doors. One leads toward an energy prison, while the other remains locked until the enemies in the room have been defeated.
Clear the encounter and enter the newly unlocked door on the right.
Continue until you reach a room with windows overlooking a red or pink chamber filled with pods. Take the doorway on the right side of this room.
The Penitent Report Terminal is directly inside the next area.
Heavy Burden (Harmonious Clarity Terminal Location)
Continue through Heavy Burden until Sergeant Johnson fires at the large screen displaying the Prophet. You can also begin from Rally Point Bravo after completing the mission once.
When the cutscene ends, walk through either of the two doors directly ahead.
Continue straight through the connected rooms until you reach the final chamber in the sequence. Look along the left wall to find the Harmonious Clarity Terminal.
Some official collectible information has associated this Terminal with the name Bitter Harvest. However, the playable mission and achievement information identify the level as Heavy Burden. Use the name displayed in your review build if it differs.
What Do Terminals Unlock in Halo: Campaign Evolved?
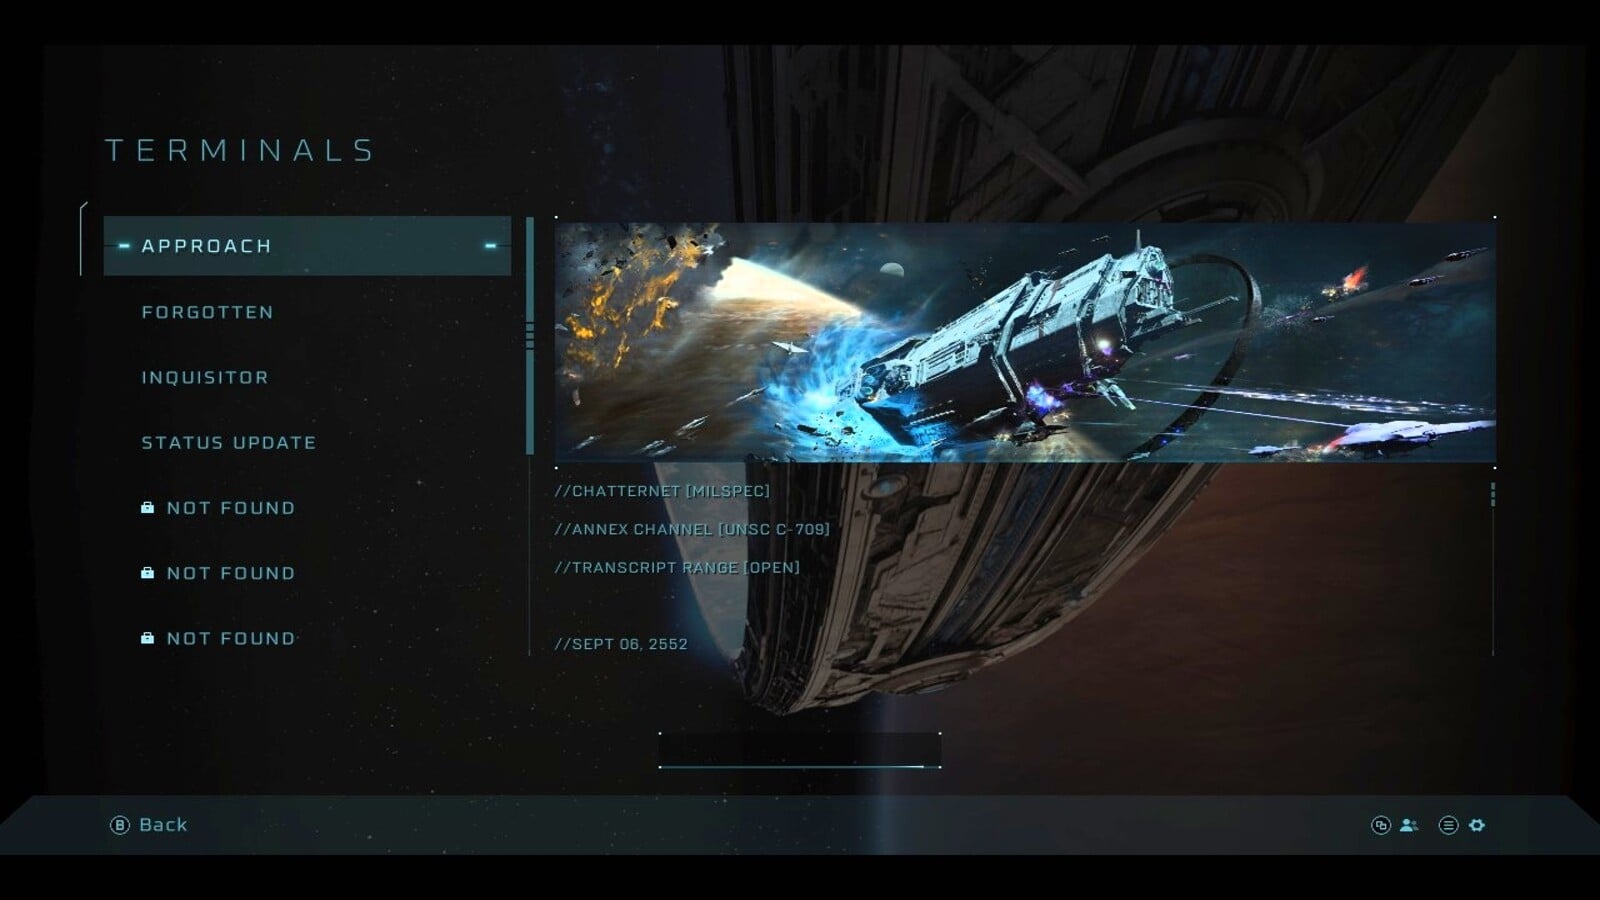
Each activated Terminal adds a written lore entry to the Collectibles section of the main menu. You can return to this menu to read previously discovered entries without replaying the mission.
Activating all 13 Terminals unlocks the Lore Have Mercy achievement or trophy. Finding every Terminal and all 39 hidden Skulls also unlocks the Collector’s Addition achievement or trophy.
You do not need to collect the Terminals in mission order. Any missed entry can be recovered through mission selection, so check the Collectibles menu to determine which mission is still incomplete.
.nux-up-next-box { –nux-subtitle-blue: #2b93bb; –nux-heading-blue: #29577A; –nux-red-link: #b14866; –nux-pink-link: #e44d8b; –nux-white: #ffffff; –nux-light-blue-bg: #f2fbff; margin: 32px 0 10px; padding: 22px; border: 2px solid rgba(43, 147, 187, 0.25); border-radius: 16px; background: var(–nux-white); box-shadow: 0 10px 26px rgba(41, 87, 122, 0.12); color: var(–nux-heading-blue); } .nux-up-next-label { display: inline-block; margin-bottom: 10px; padding: 5px 10px; border-radius: 999px; background: var(–nux-light-blue-bg); color: var(–nux-heading-blue); font-size: 13px; font-weight: 800; letter-spacing: 0.08em; text-transform: uppercase; } .nux-up-next-title { font-size: 22px; font-weight: 800; line-height: 1.25; margin: 0 0 10px; color: var(–nux-heading-blue); } .nux-up-next-title a { color: var(–nux-heading-blue); text-decoration: none; } .nux-up-next-title a:hover { color: var(–nux-pink-link); } .nux-up-next-text { font-size: 15px; line-height: 1.6; color: #345f7c; margin: 0 0 18px; } .nux-up-next-buttons { display: flex; flex-wrap: wrap; gap: 12px; } .nux-up-next-button { display: inline-flex; align-items: center; gap: 8px; padding: 11px 16px; border-radius: 999px; background: var(–nux-pink-link); color: #ffffff !important; font-size: 15px; font-weight: 800; text-decoration: none !important; transition: transform 0.2s ease, background 0.2s ease; } .nux-up-next-button:hover { background: var(–nux-red-link); transform: translateY(-2px); } .nux-up-next-button.secondary { background: var(–nux-light-blue-bg); color: var(–nux-heading-blue) !important; border: 1px solid rgba(43, 147, 187, 0.35); } .nux-up-next-button.secondary:hover { background: #e5f6fc; color: var(–nux-pink-link) !important; } .nux-up-next-arrow { font-size: 18px; line-height: 1; } @media (max-width: 600px) { .nux-up-next-box { padding: 18px; } .nux-up-next-title { font-size: 20px; } .nux-up-next-button { width: 100%; justify-content: center; } }