
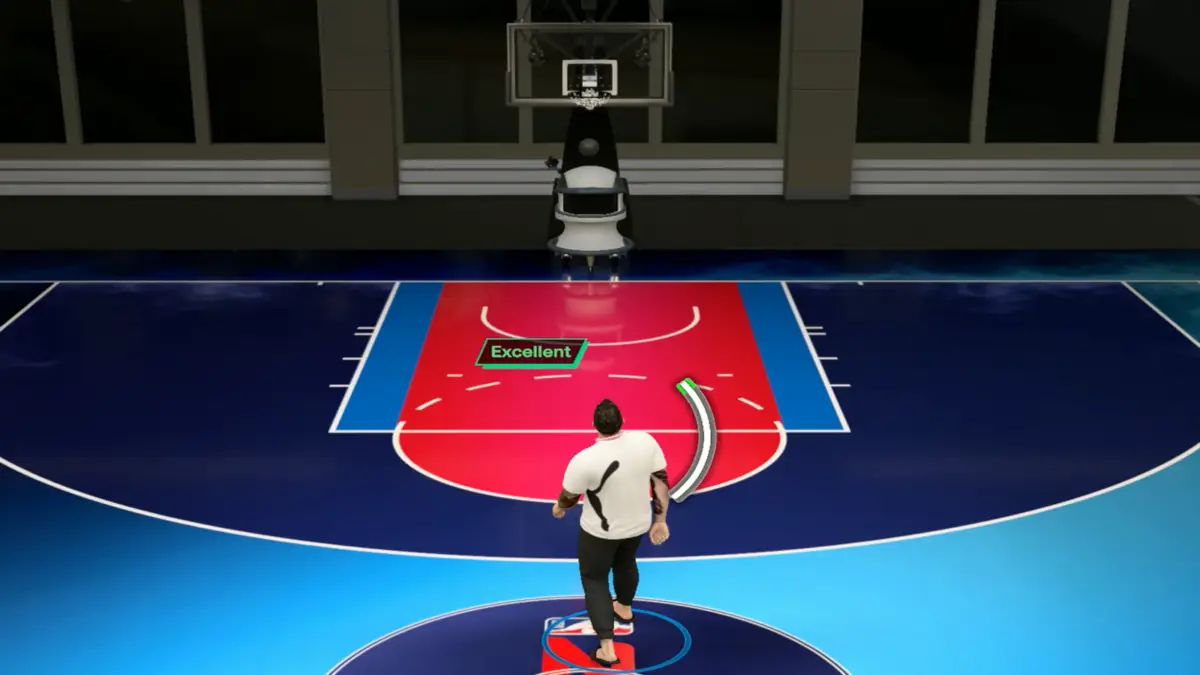

The best NBA 2K27 settings depend partly on how you shoot, but a few controller and HUD options give you a strong place to start.
NBA 2K27 lets you separately adjust your Shot Meter, Shot Feedback, visual cue, Pro Stick orientation, and meters for different types of attempts. That is especially useful this year because Rhythm Shooting adds Tempo on top of normal shot Timing.
The setup below is designed for learning first. Once you are comfortable with your jumper, you can remove some of the visual help and rely more heavily on your player’s animation.
Best Controller Settings in NBA 2K27
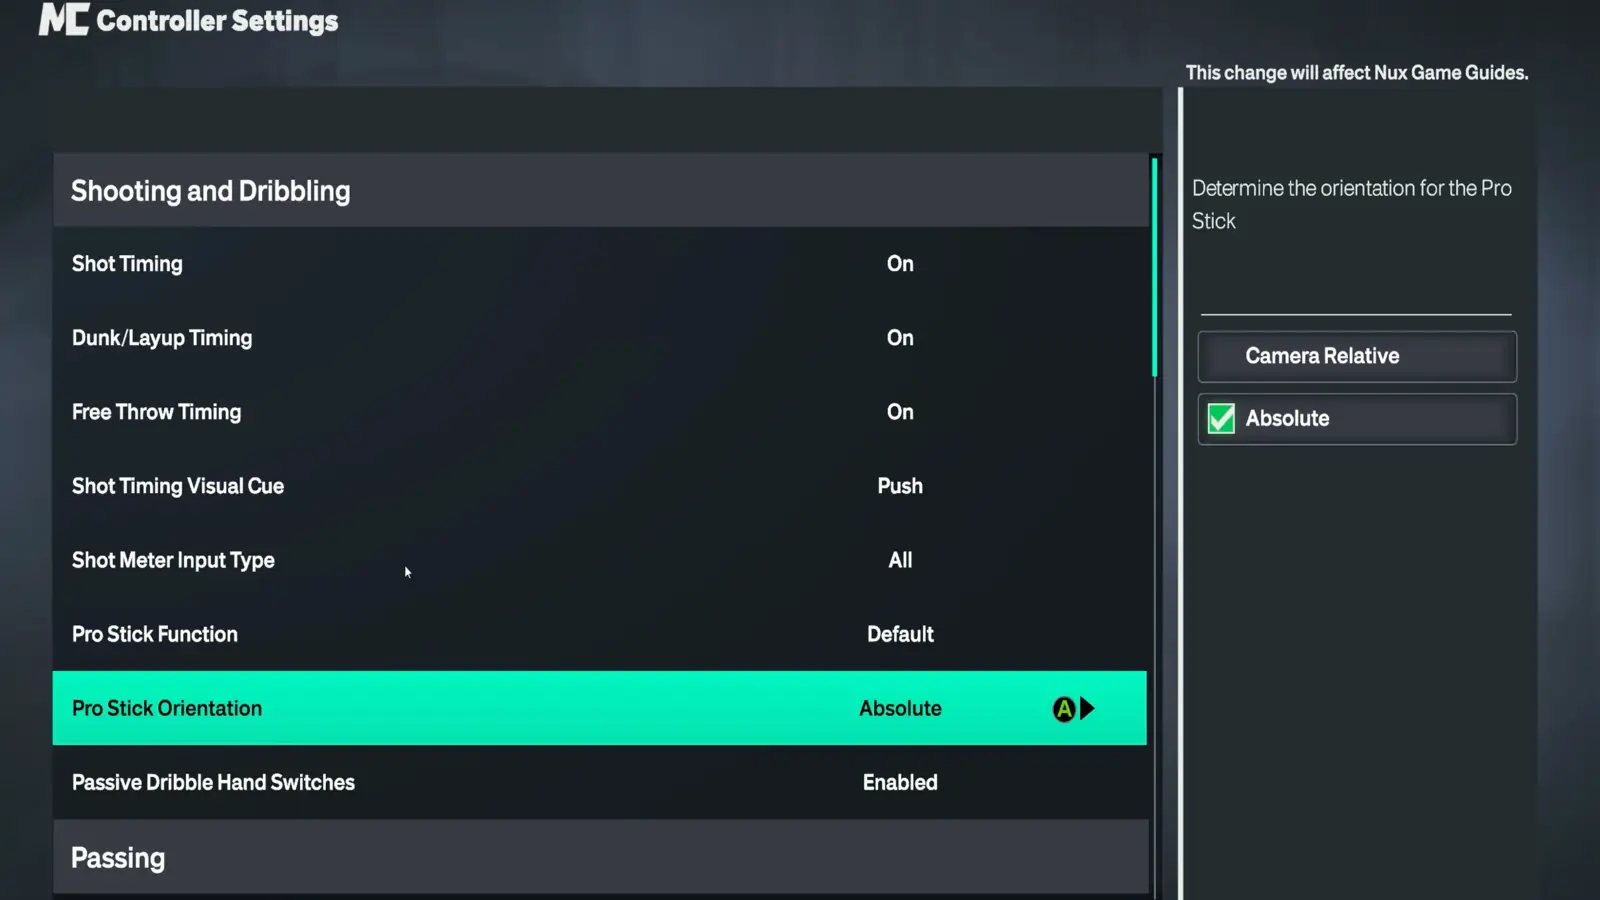
A good starting setup uses Push for the Shot Timing Visual Cue, Absolute Pro Stick orientation, All Shots feedback, and the Shot Meter turned on while learning your release.
Try these settings first:
| Setting | Recommended Option |
|---|---|
| Shot Timing Visual Cue | Push |
| Pro Stick Orientation | Absolute |
| Shot Feedback | All Shots |
| Jump Shot Meter | On while learning, Off once comfortable |
| Dunk Meter | On |
| Free Throw Meter | On while learning |
Push gives you a consistent visual point in the shooting animation to learn. If you use Rhythm Shooting, that same practice also helps you recognize when to begin moving the Right Stick upward.
Absolute Pro Stick orientation is another useful baseline because stick directions remain consistent regardless of your position or camera angle.
The Shot Meter recommendation has two stages. Keep it on while learning a jumper or practicing Rhythm Shooting. Turn it off once you can reliably recognize your release without watching the meter.
How to Turn Off the Shot Meter in NBA 2K27
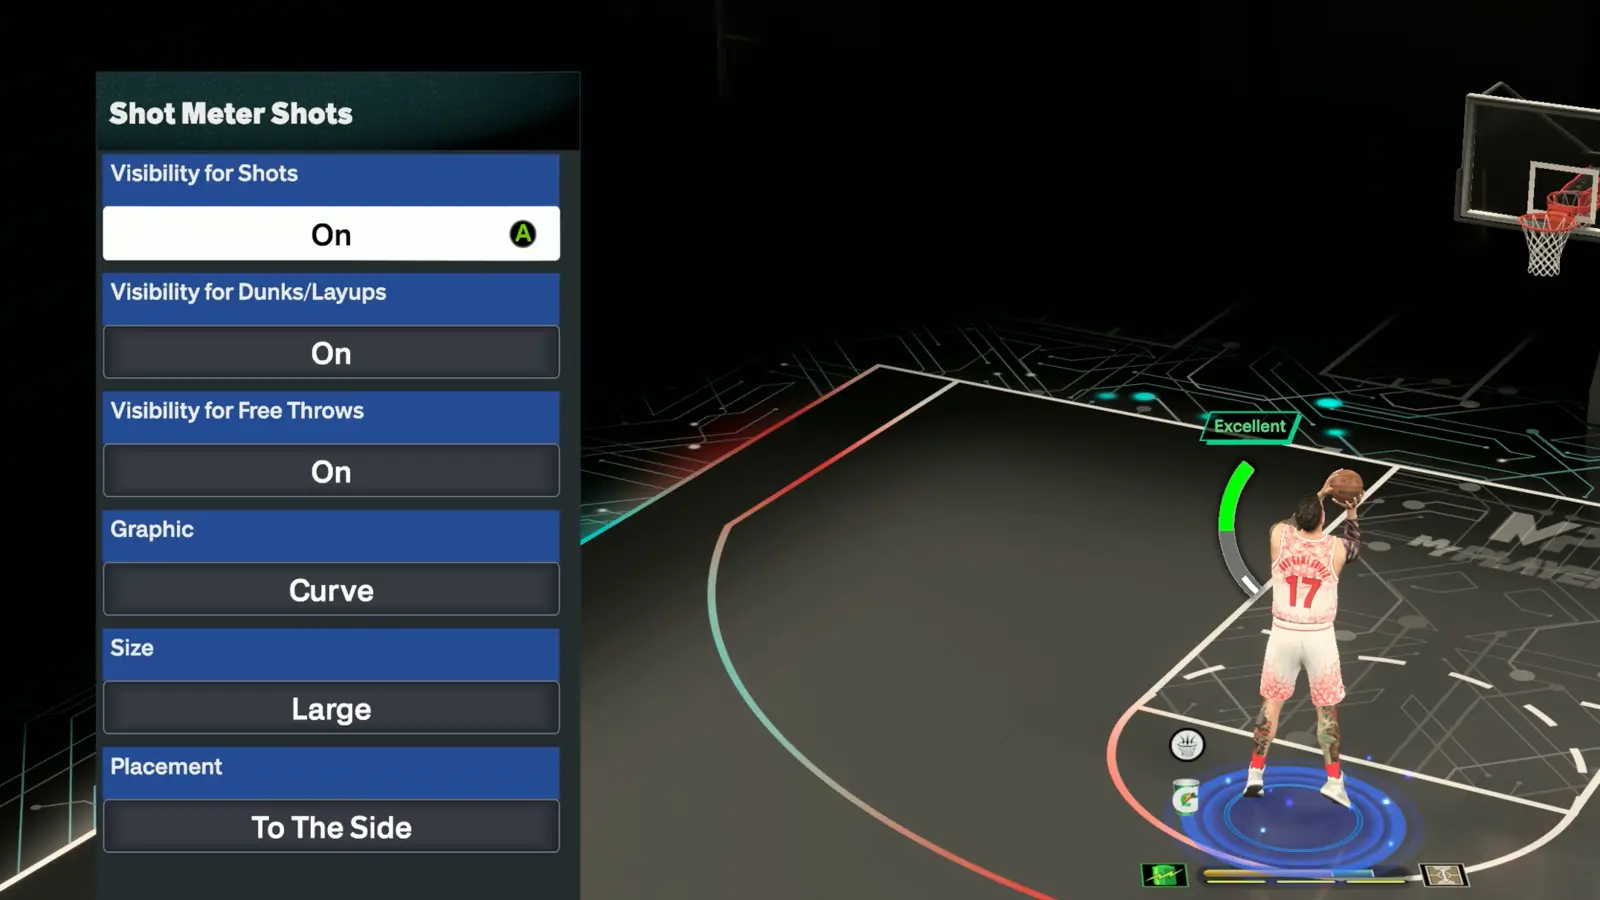
NBA 2K27 puts its Shot Meter options inside Customize HUD.
To turn off the jump-shot meter:
- Pause the game.
- Open Options/Quit.
- Select Customize HUD.
- Open Shot Meter Shots.
- Set Meter Visibility for Shots to Off.
You can also reach Customize HUD from the main menu. NBA 2K27 lets you adjust the meters for jump shots, dunks and layups, and free throws separately, so you do not have to disable every meter at once.
I recommend leaving the Dunk Meter on. The new dynamic Dunk Meter changes its green window based on the defensive situation throughout the attempt, making it useful feedback while attacking the rim.
Should You Turn the Shot Meter On or Off in NBA 2K27?
You should keep the Shot Meter on while learning and consider turning it off once you are comfortable with your shot.
The meter is especially helpful for Rhythm Shooting. NBA 2K27 adds a small tick that moves in real time with your Pro Stick. It helps show whether you are matching the correct Tempo as you move the stick from down to up.
Once you can consistently identify your player’s release and Rhythm Shooting motion, there is a reason to switch it off. NBA 2K gameplay director Mike Wang confirmed that NBA 2K27 retains the 10% meter-off shooting boost. NBA2KLab also measured a 10% improvement across its testing window, with the benefit appearing primarily on late releases.
That does not mean you should immediately disable the meter. Learning the correct release first is more useful than chasing the bonus while struggling to time every shot.
Turn On Shot Feedback
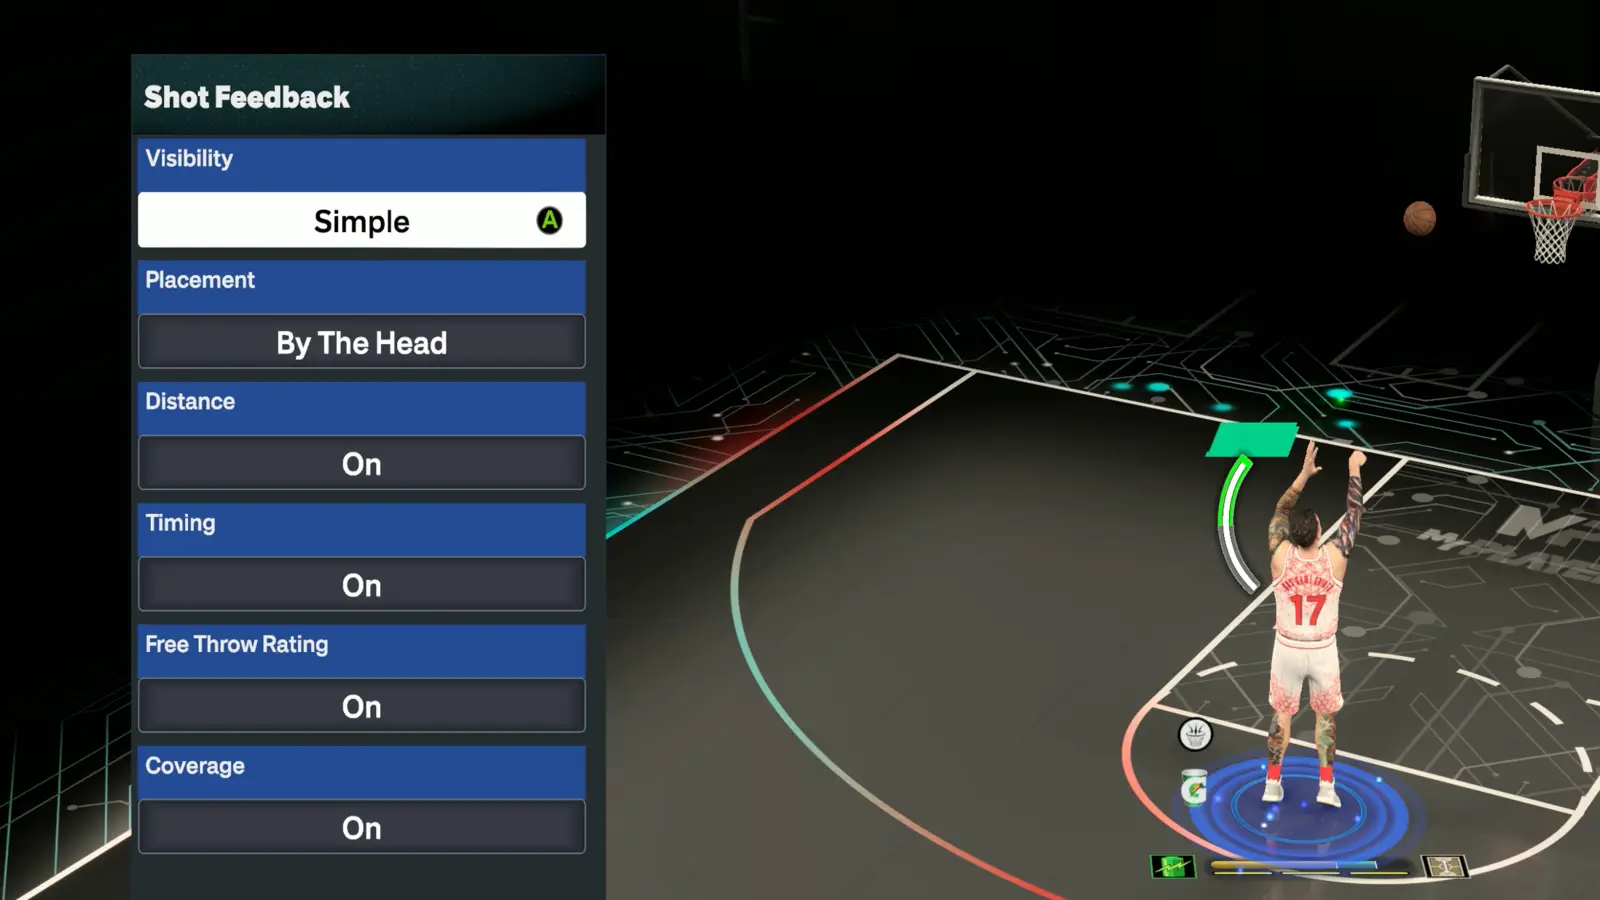
Set Shot Feedback to All Shots while learning NBA 2K27.
Shot Feedback gives you information you can still use even after disabling the Shot Meter. It helps show whether your Timing was early or late and provides information about the defense around the attempt.
Rhythm Shooting adds another layer. Its feedback separates Timing from Tempo, letting you see whether you started the upward stick motion at the wrong point or simply moved the Right Stick too quickly or slowly.
That distinction matters because fixing an Early Timing result is different from fixing Fast Tempo.
Once you find a setup that feels comfortable, avoid changing it after every missed shot. Spend time practicing the same jumper in MyCOURT or the MyPLAYER Builder test so you can learn its visual cue and Rhythm Shooting motion.