
Act 1 of Gears of War: E-Day wastes little time introducing the campaign’s collectibles, with items tucked into side rooms, storefronts, offices, and other easy-to-miss corners along the main route.
This guide covers all 13 Act 1 collectible locations in order, starting with Emergence and ending with Back in the Fold. Each location includes a nearby landmark so you can grab it during your first playthrough without wandering too far off Marcus and Dom’s increasingly terrible day.
Finding every collectible in the campaign is required for the Memories From E-Day achievement. If you miss one, chapter replay gives you another shot later, so there’s no need to restart the entire campaign over a newspaper clipping hiding behind a counter.
How Many Collectibles Are in Gears of War: E-Day Act 1?
Act 1 contains 13 collectibles across four chapters. There are no collectibles in the Prologue, so your hunt begins in Act 1, Chapter 1: Emergence.
| Chapter | Collectibles |
|---|---|
| Emergence | 3 |
| Survival of the Fittest | 4 |
| A Gear in Need | 2 |
| Back in the Fold | 4 |
| Act 1 Total | 13 |
Listen for the audio cue that plays when you approach a collectible. You can also use Tac-Com to highlight nearby pickups once you’re close enough.
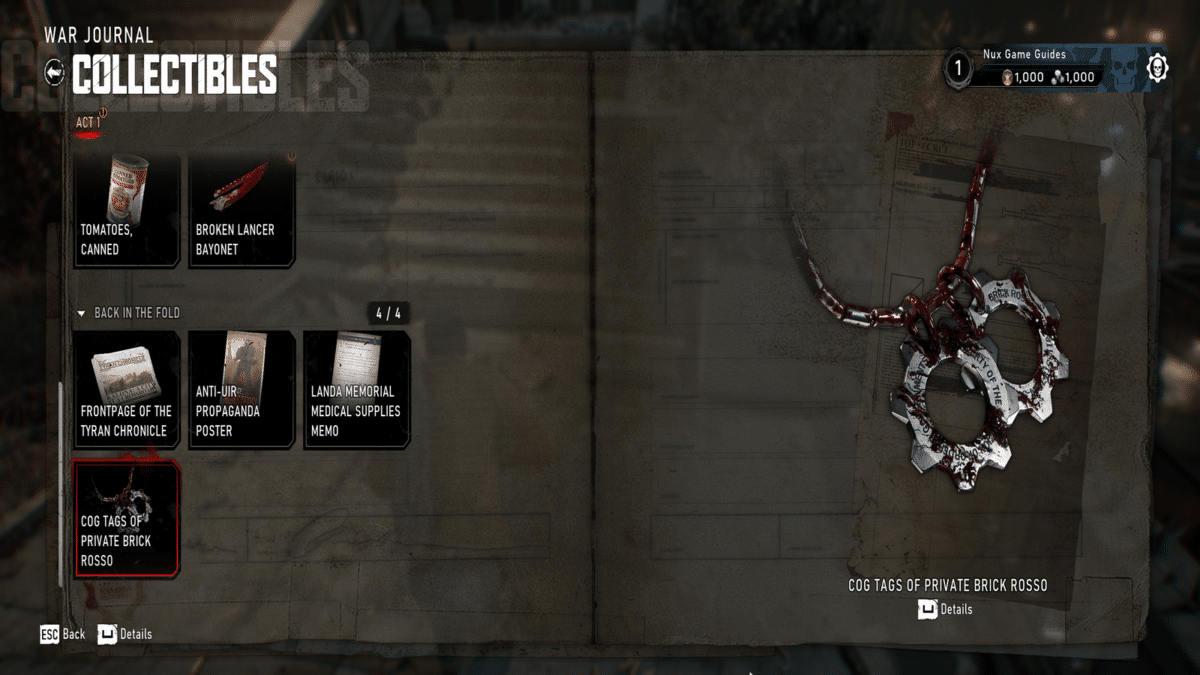
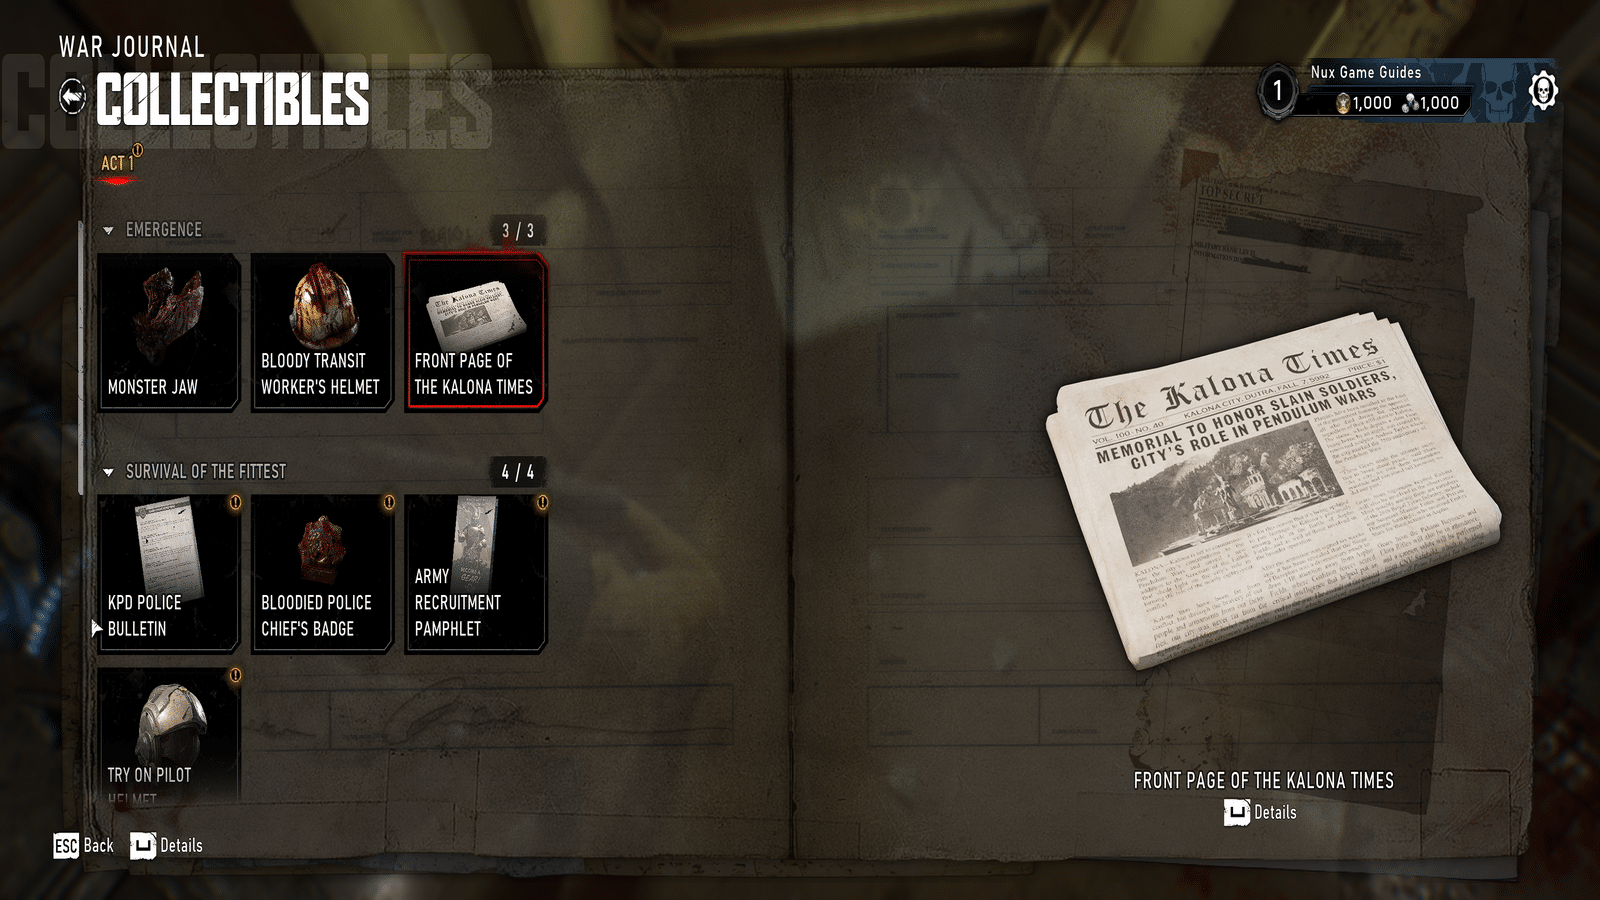
Your War Journal makes cleanup easier by tracking which collectibles you’ve already found by Act and chapter.
Chapter 1: Emergence Collectibles
Emergence contains three collectibles. They appear along the chapter’s main route, but each one sits just far enough off the obvious path that it is easy to walk straight past.
Monster Jaw
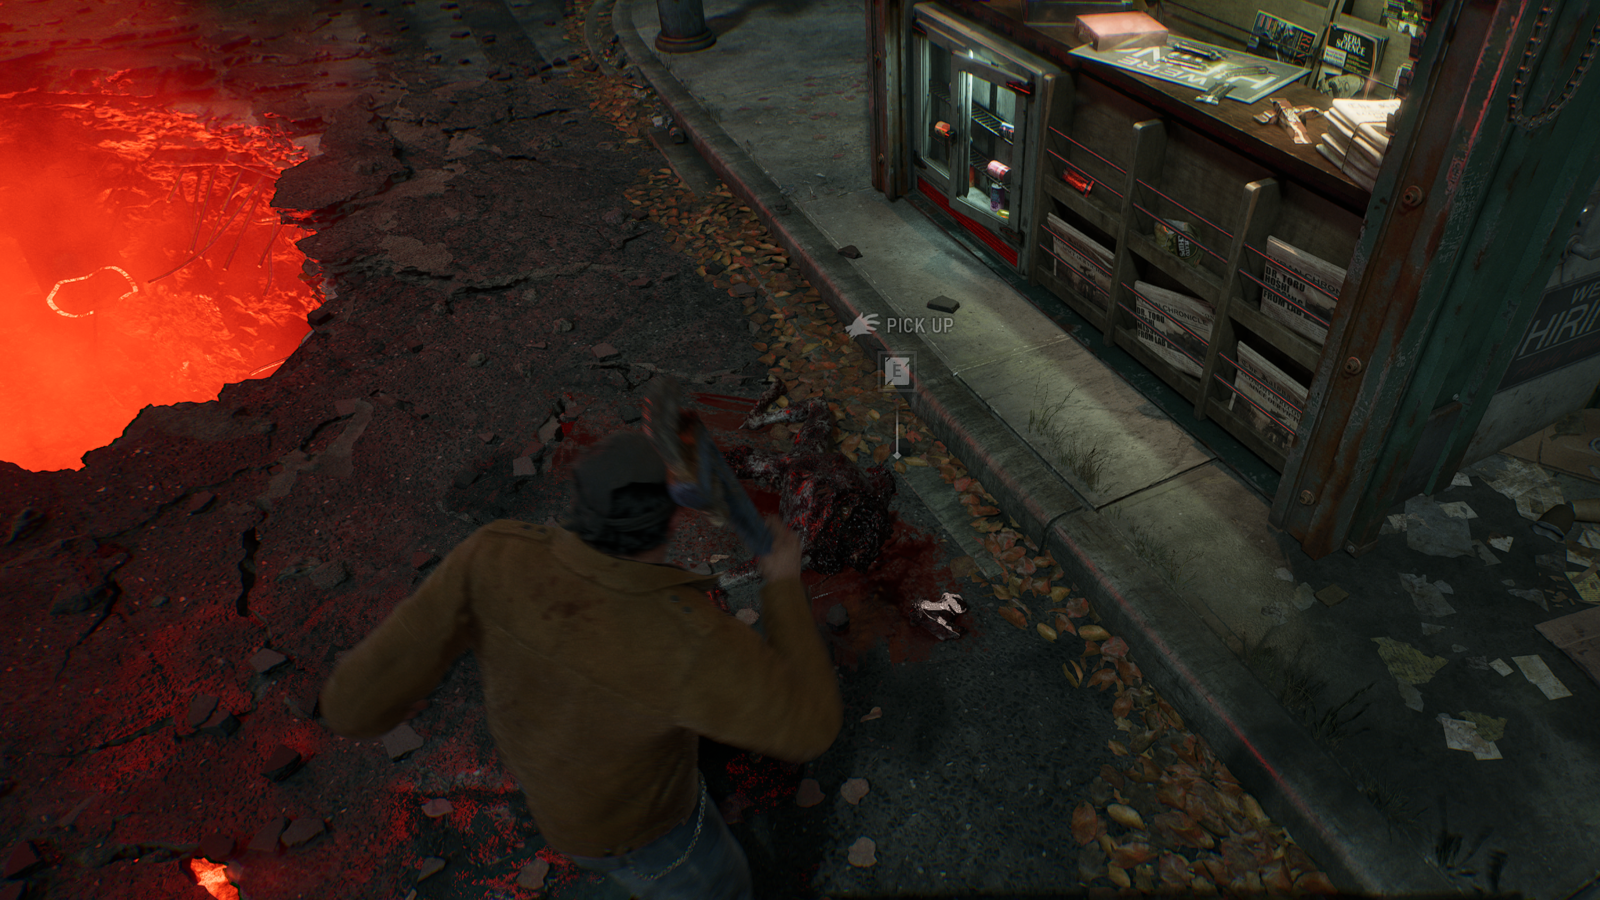
After the early encounter where you’re forced to deal with enemies up close, continue until you regain control on the street.
Look on the ground in front of the newsstand to find the Monster Jaw.
Bloody Transit Worker’s Helmet
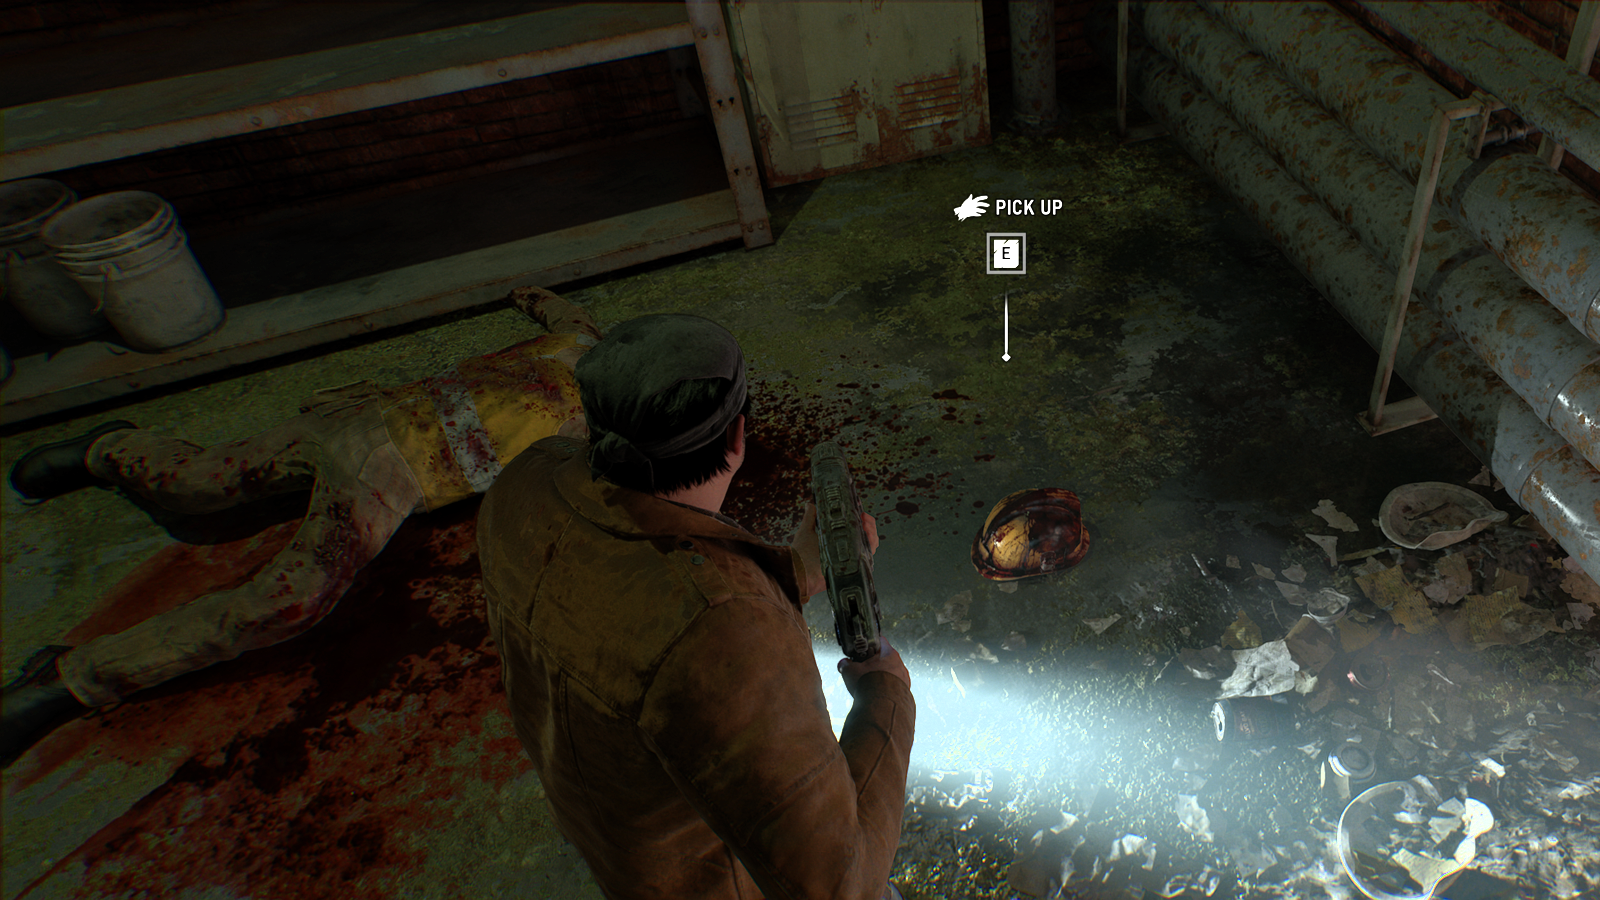
Continue through the maintenance tunnels until you reach a small room on the left with a dead transit worker inside.
Enter the room and check beside the body and flashlight to find the Bloody Transit Worker’s Helmet.
Front Page of the Kalona Times
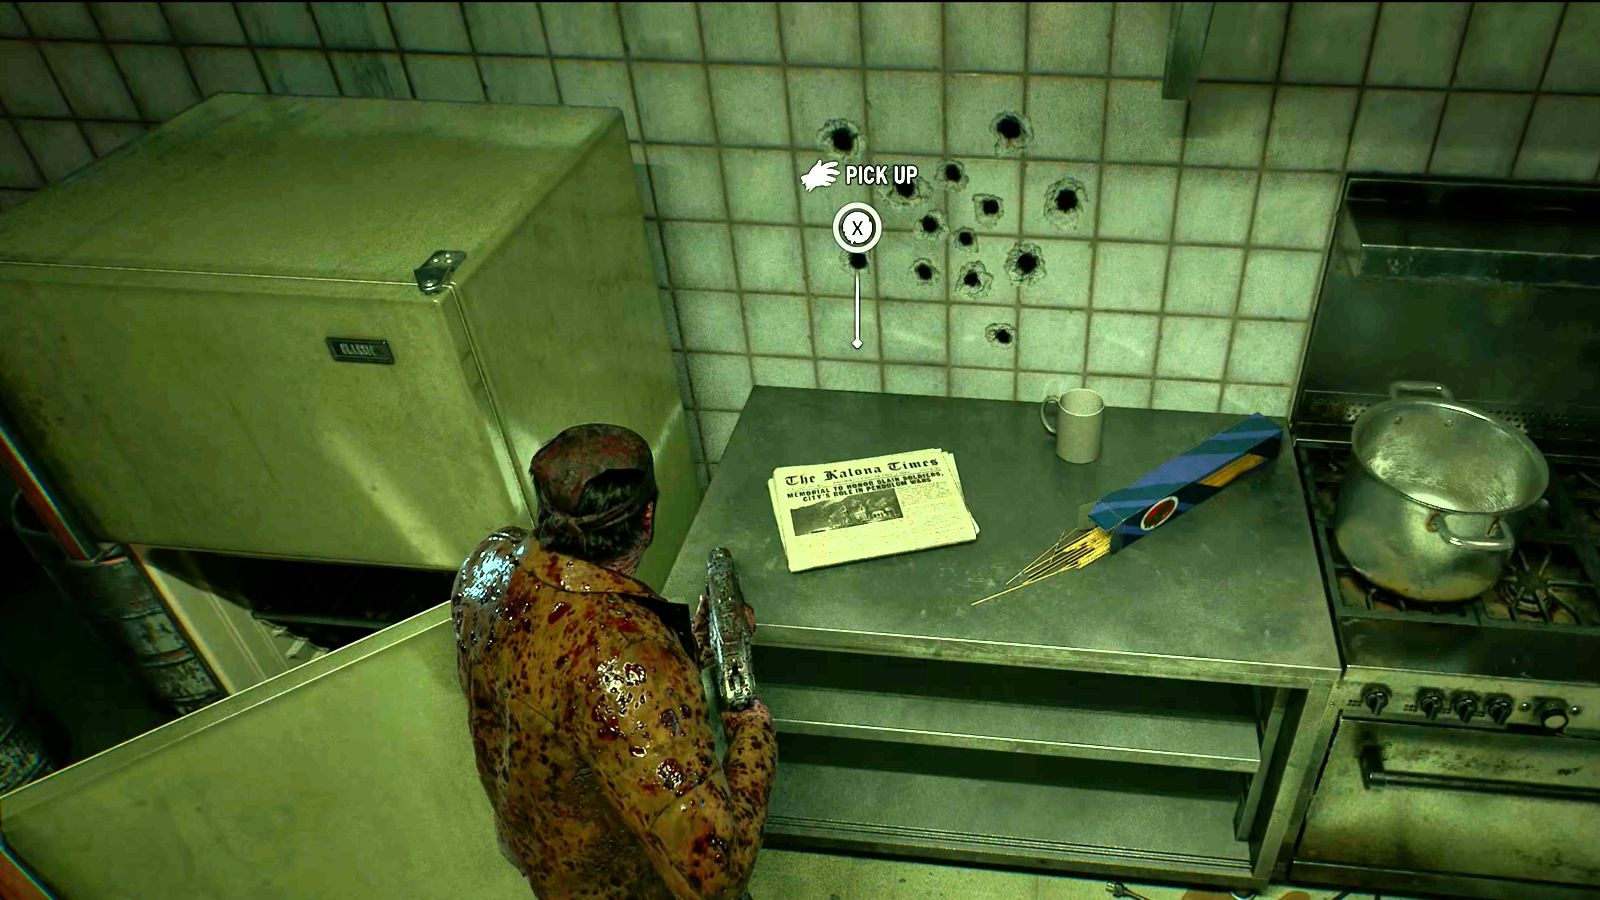
After you raise the block of concrete to save the civilians, you’ll return to the streets and see a Café & Bakery.
Go inside instead of continuing toward the next objective. Move through the shop to the back kitchen area to find the Front Page of the Kalona Times on the counter.
Chapter 2: Survival of the Fittest Collectibles
Survival of the Fittest has four collectibles, making it the busiest chapter in Act 1. Take a little extra time inside the police station and Recruitment Center because several pickups are grouped around those locations.
KPD Police Bulletin
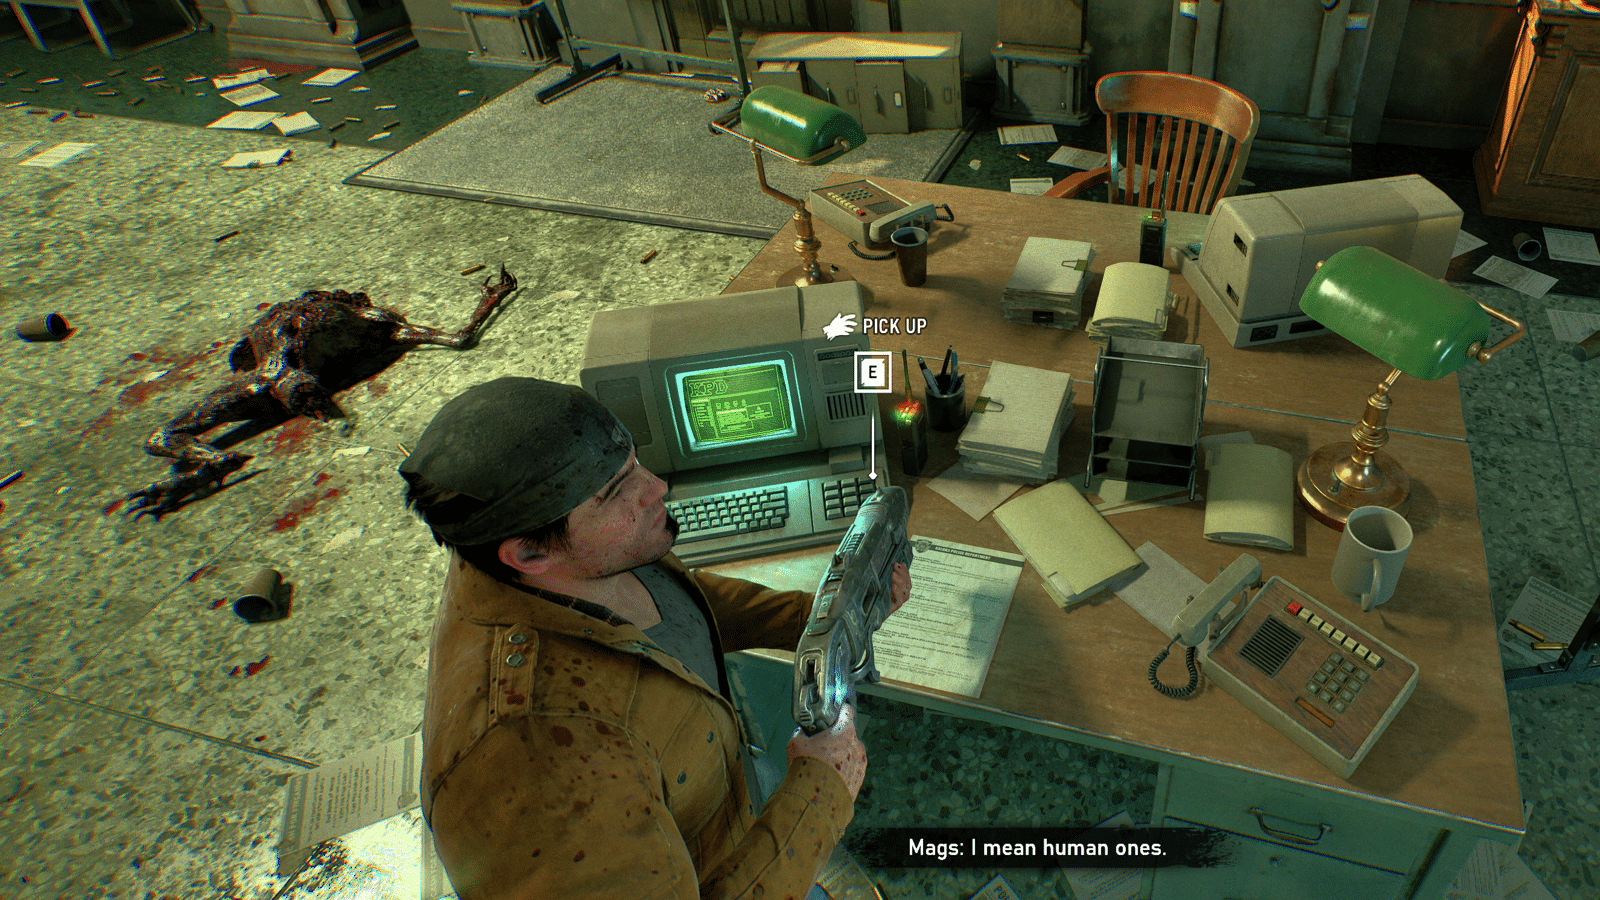
Near the beginning of the chapter, search the police station before pushing deeper into the building.
Stay on the left side of the bullpen area and check the desks. The KPD Police Bulletin is sitting beside a computer.
Bloodied Police Chief’s Badge
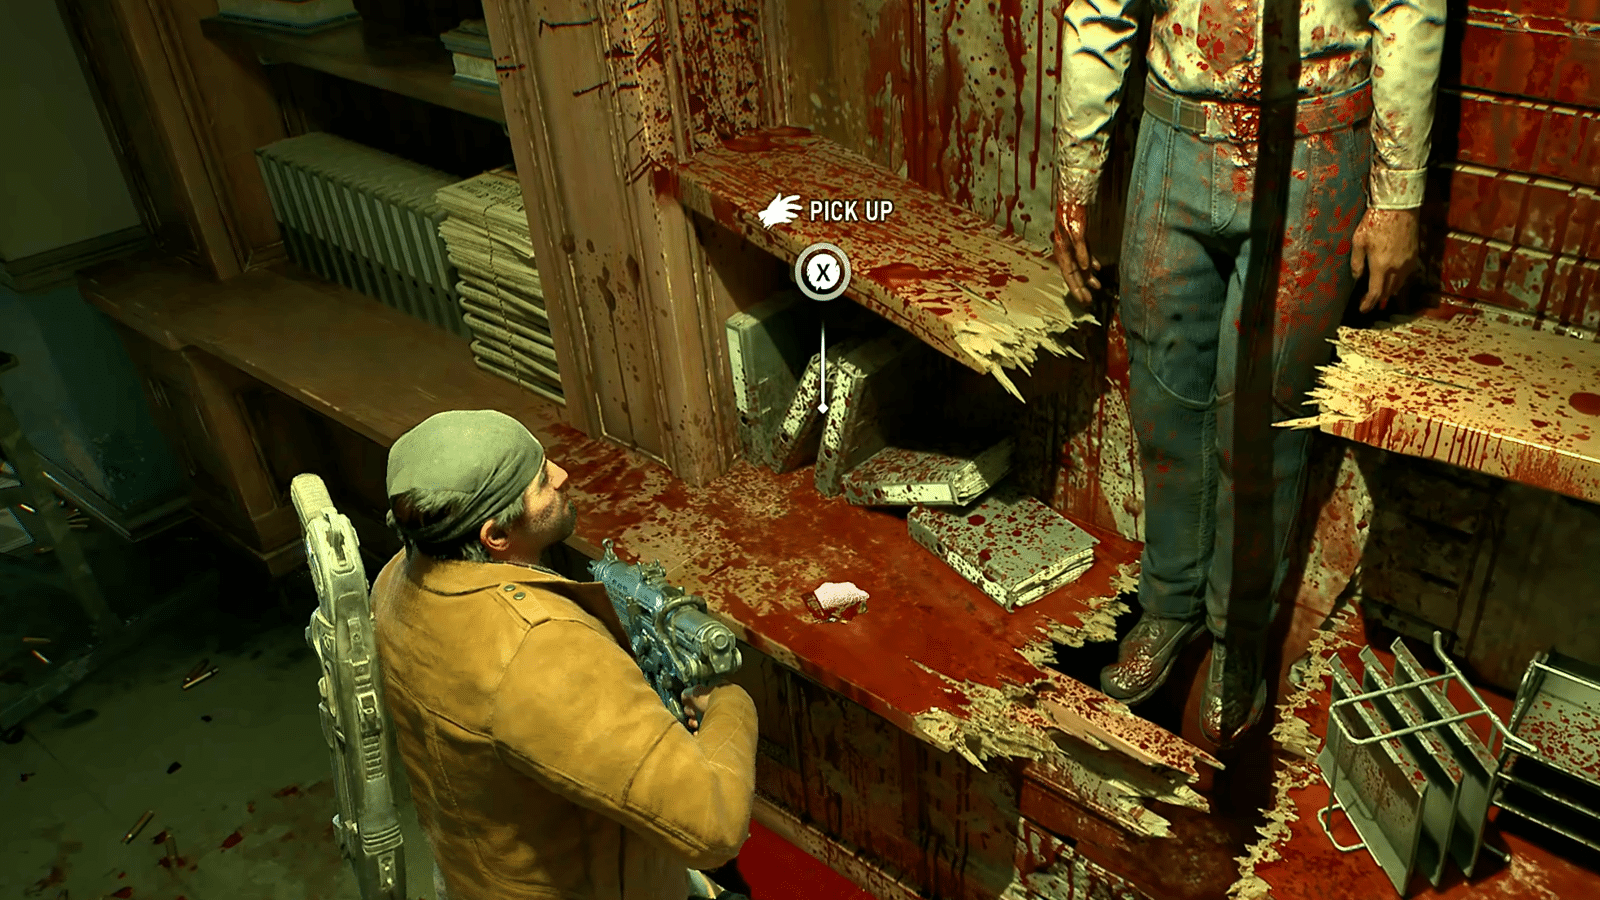
Continue through the police station until you reach the area with the police chief’s body, shortly after the shooting range section.
Check the wooden shelf to the left of the body to find the Bloodied Police Chief’s Badge.
Army Recruitment Pamphlet
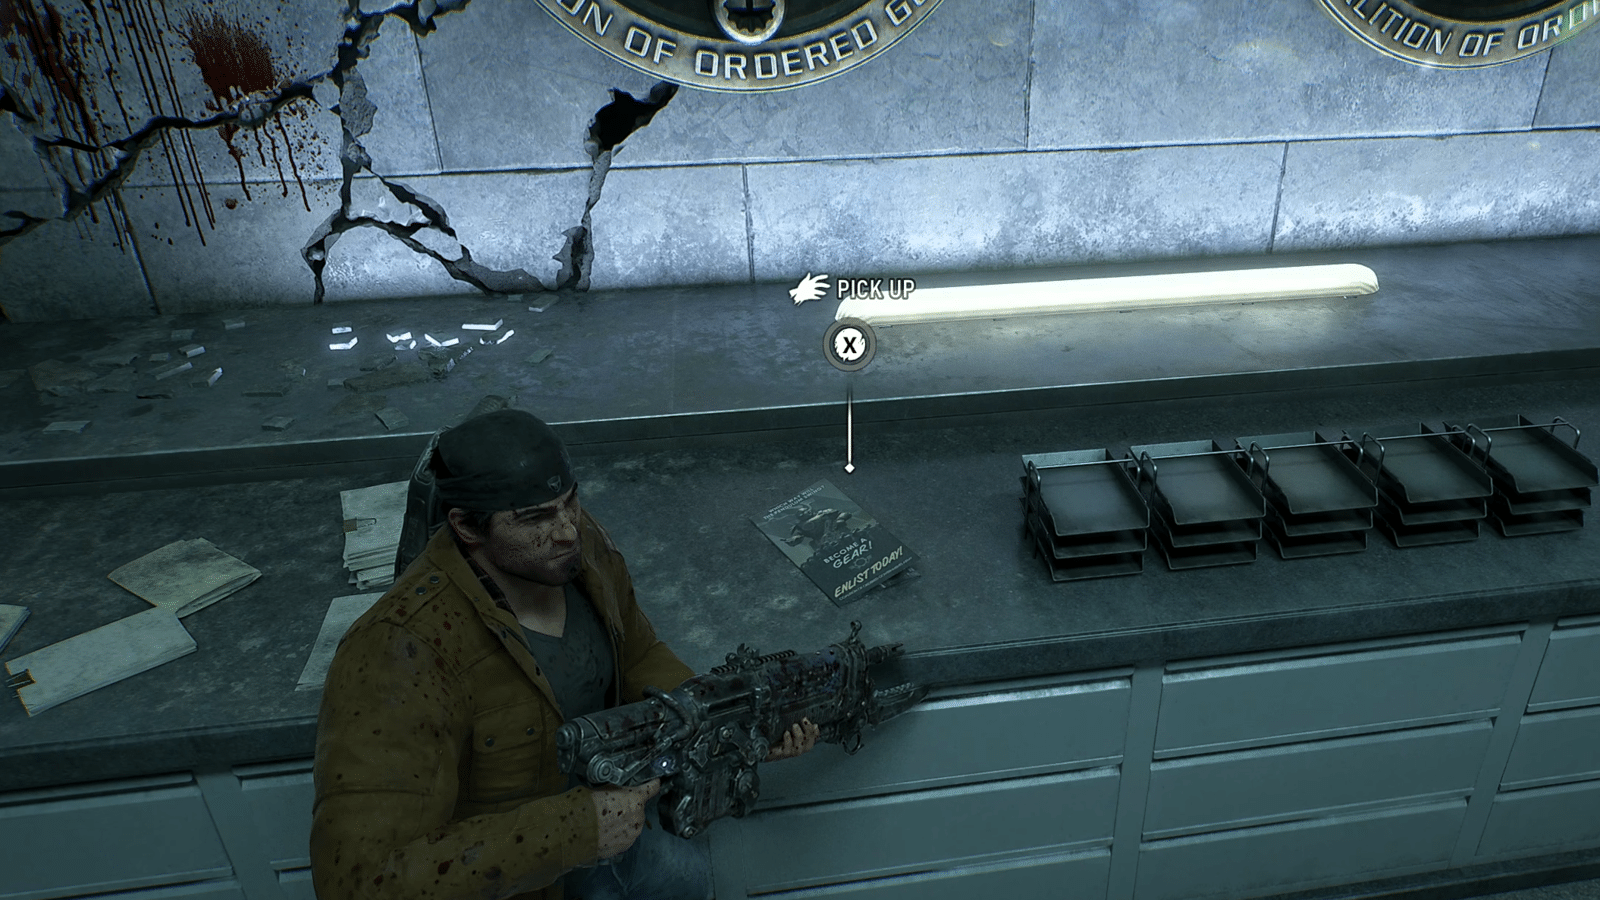
Once you reach the Gears Recruitment Center, look toward the rear of the room where the large COG displays are mounted.
Head behind the reception desk to find the Army Recruitment Pamphlet.
Try On Pilot Helmet
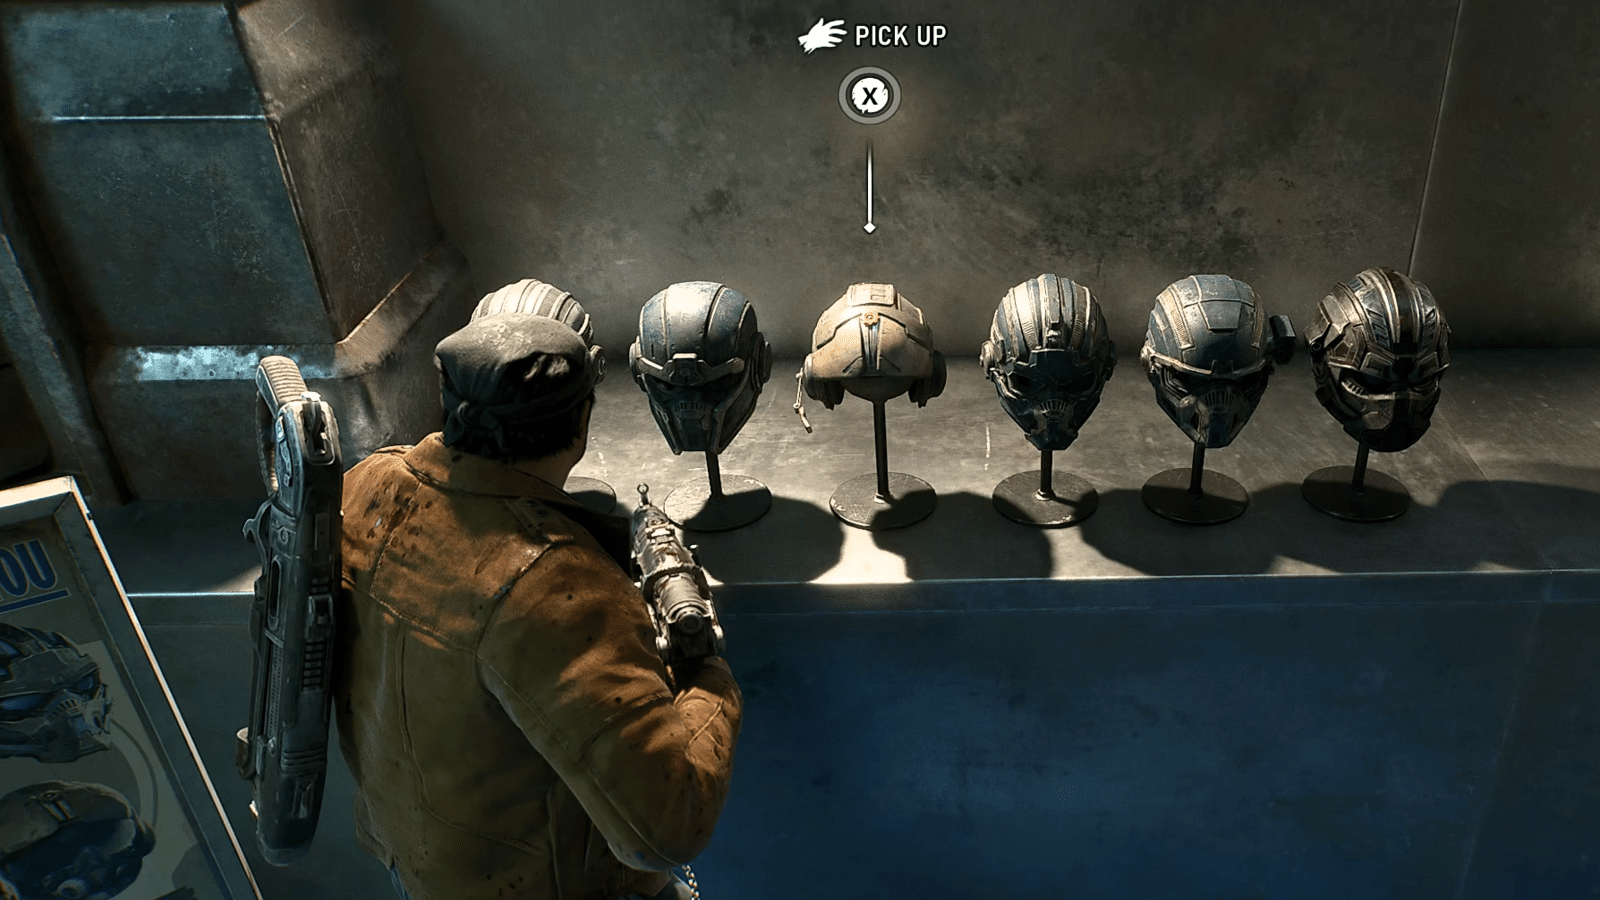
Don’t leave the Recruitment Center yet.
From the Army Recruitment Pamphlet, move to the right and inspect the row of pilot helmets. Interact with the correct helmet to add Try On Pilot Helmet to your collection.
Chapter 3: A Gear in Need Collectibles
A Gear in Need only has two collectibles, so this chapter is relatively quick to clean up. Both appear around the larger store and warehouse sections rather than being spread across several unrelated areas.
Tomatoes, Canned
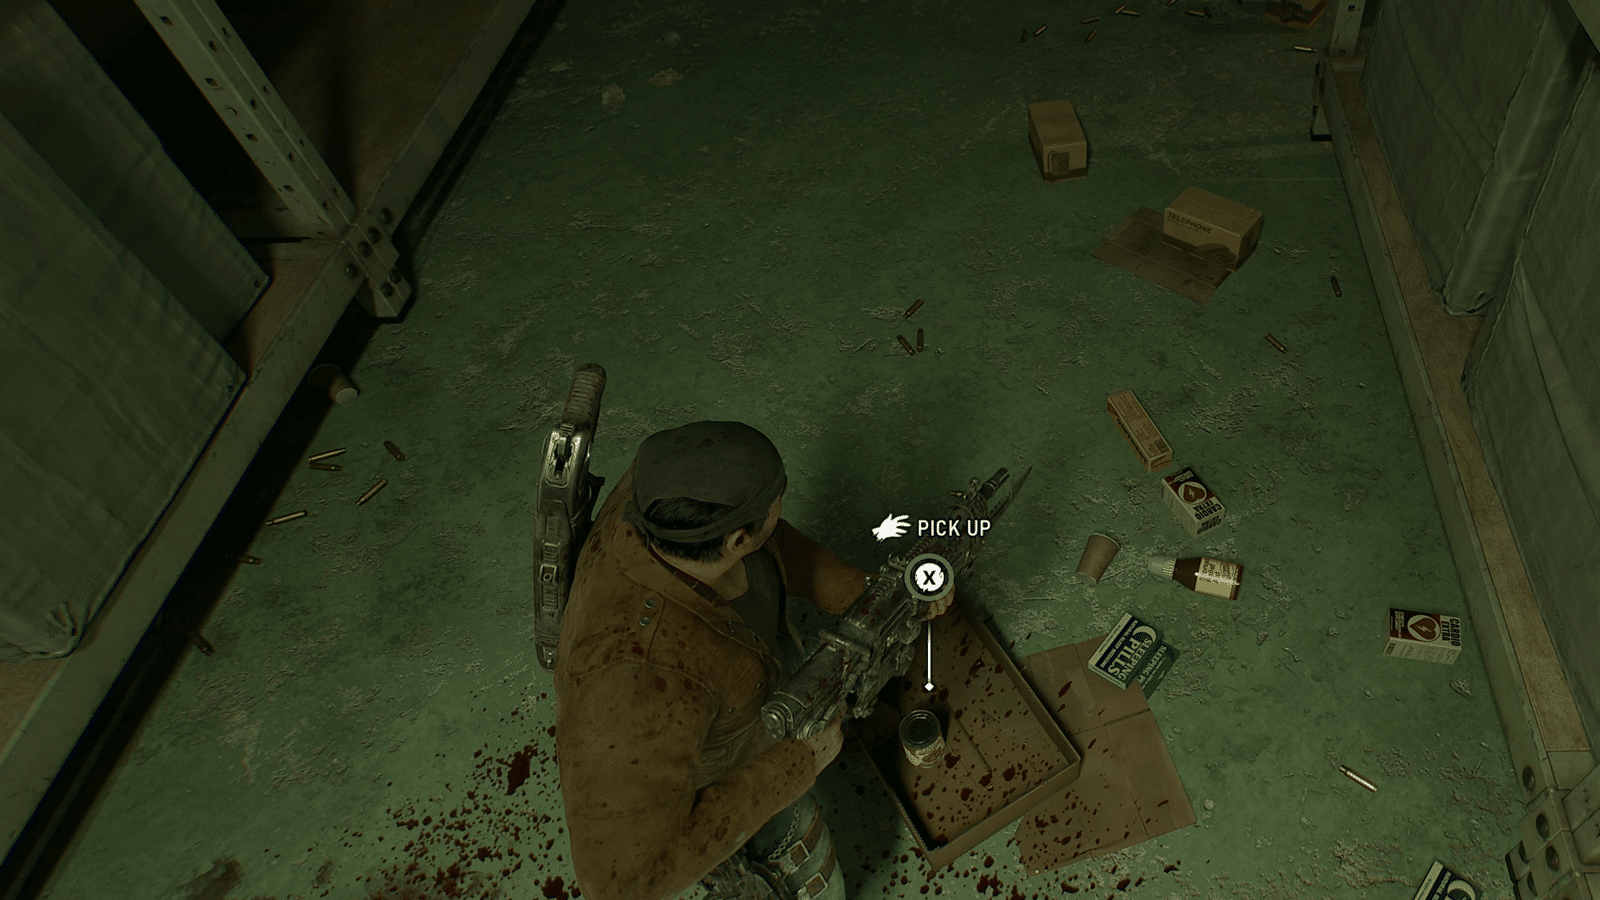
Once you reach the Pay-and-Save loading dock, you’ll get a waypoint leading through a set of double doors. Don’t go through them yet. Instead, search the left side of the room.
Look for a corpse on the floor beside a cardboard tray containing Tomatoes, Canned.
Broken Lancer Bayonet
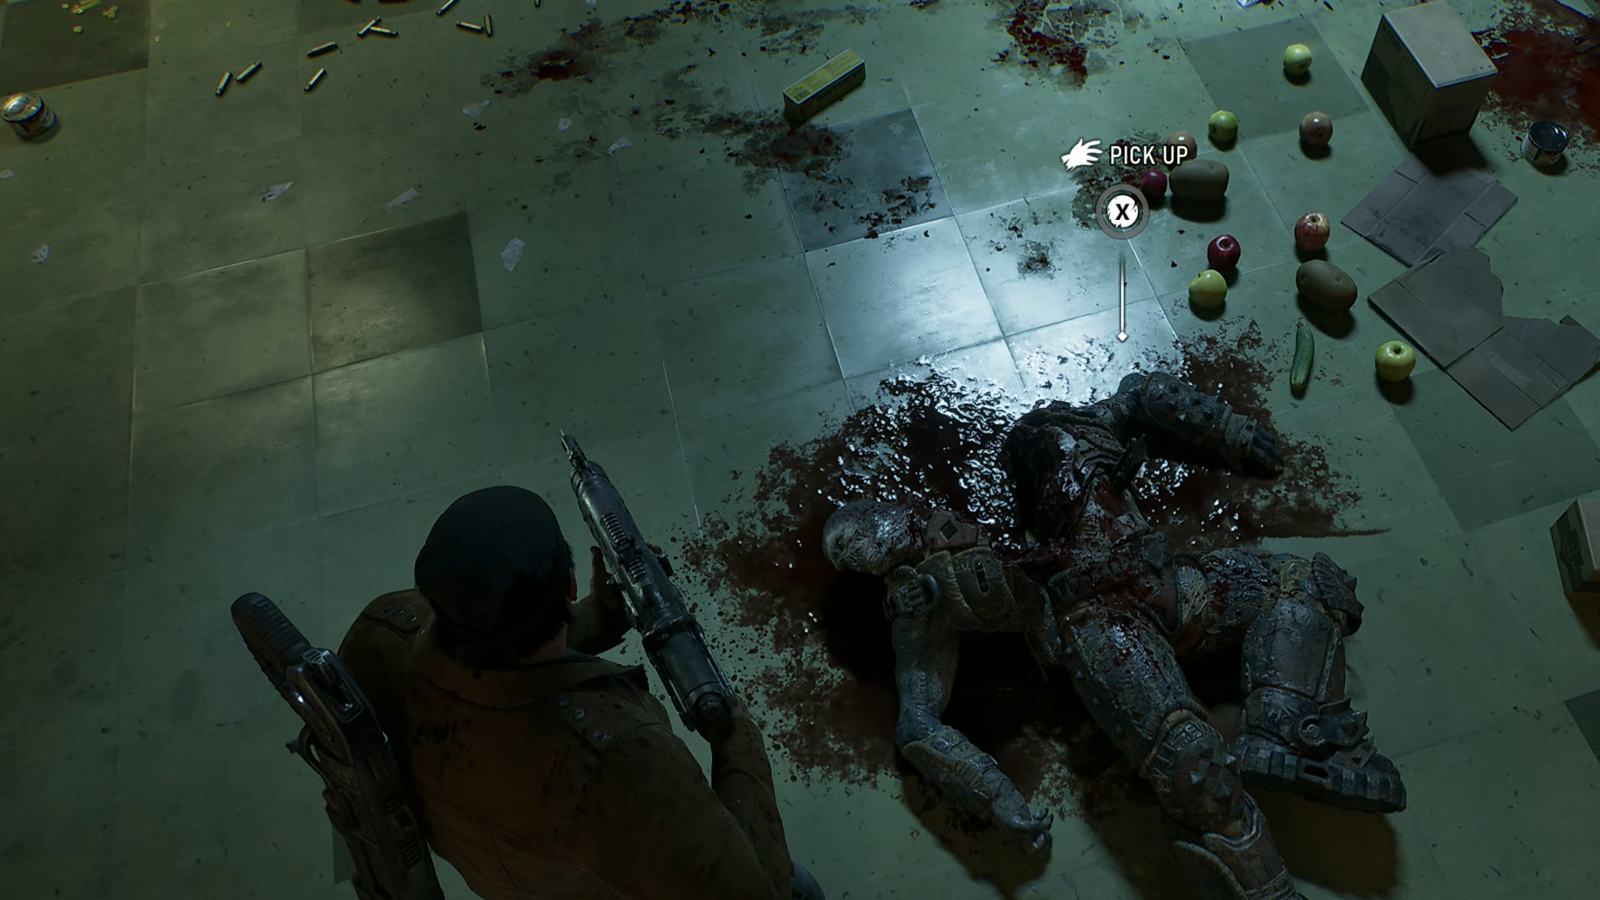
Later, a cutscene shows Tai saving Marcus.
Before heading toward the exit, check the Locust to Marcus’ right, the same one Tai cuts in half with a chainsaw. The Broken Lancer Bayonet is sticking out of the body.
Chapter 4: Back in the Fold Collectibles
Back in the Fold finishes Act 1 with four more collectibles. Most are found near clear landmarks such as the Bar & Lounge sign, Landa Medical and the route toward Echo Park.
Front Page of the Tyran Chronicle
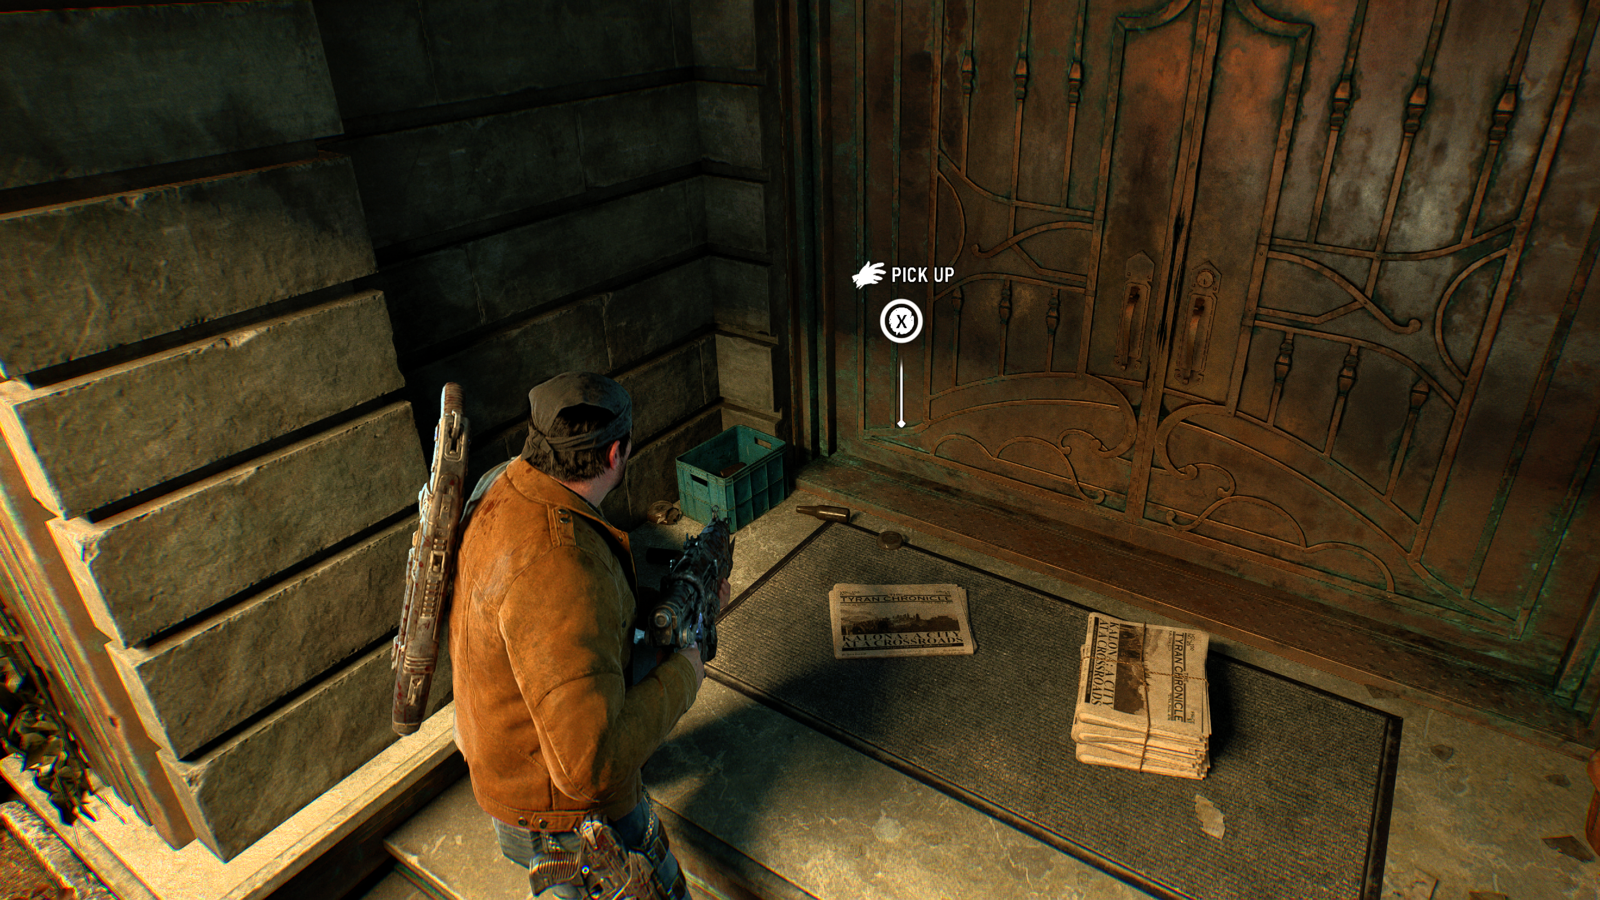
Near the beginning of the chapter, follow the street while watching the right-hand side.
Use the vertical Bar & Lounge sign as your landmark. Just before you pass it, turn into the alleyway on the right. The Front Page of the Tyran Chronicle is sitting on a stoop inside.
Anti-UIR Propaganda Poster
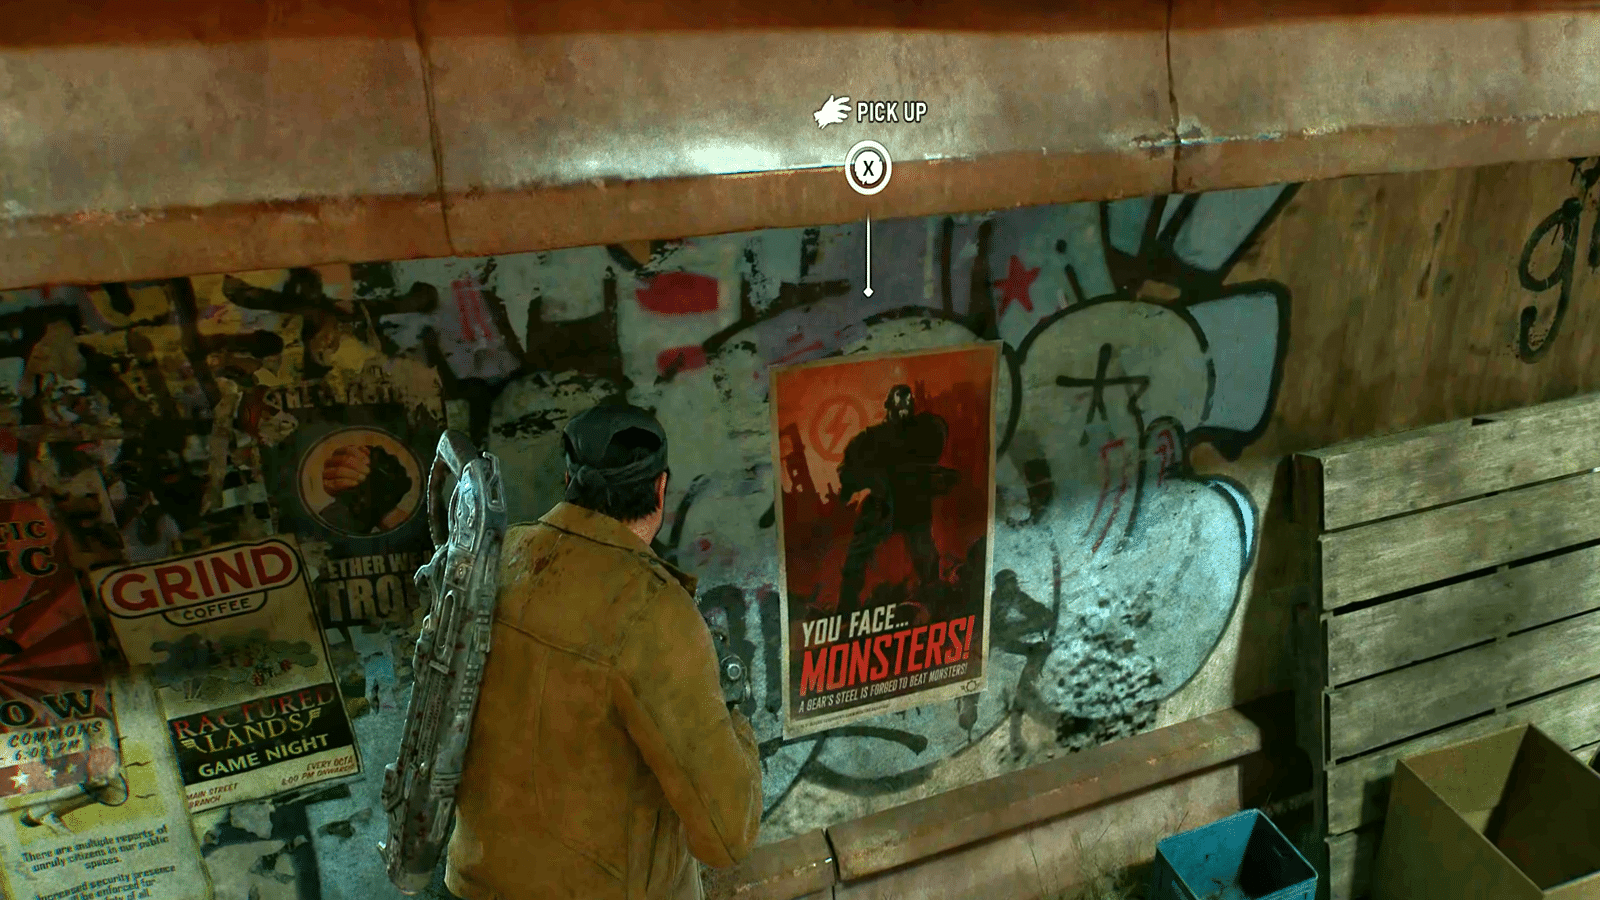
As you approach the Landa Medical area, look for a red Major Burger vehicle.
Instead of heading straight inside, follow the path to the right and inspect the graffiti-covered wall. The Anti-UIR Propaganda Poster is attached to it.
Landa Memorial Medical Supplies Memo
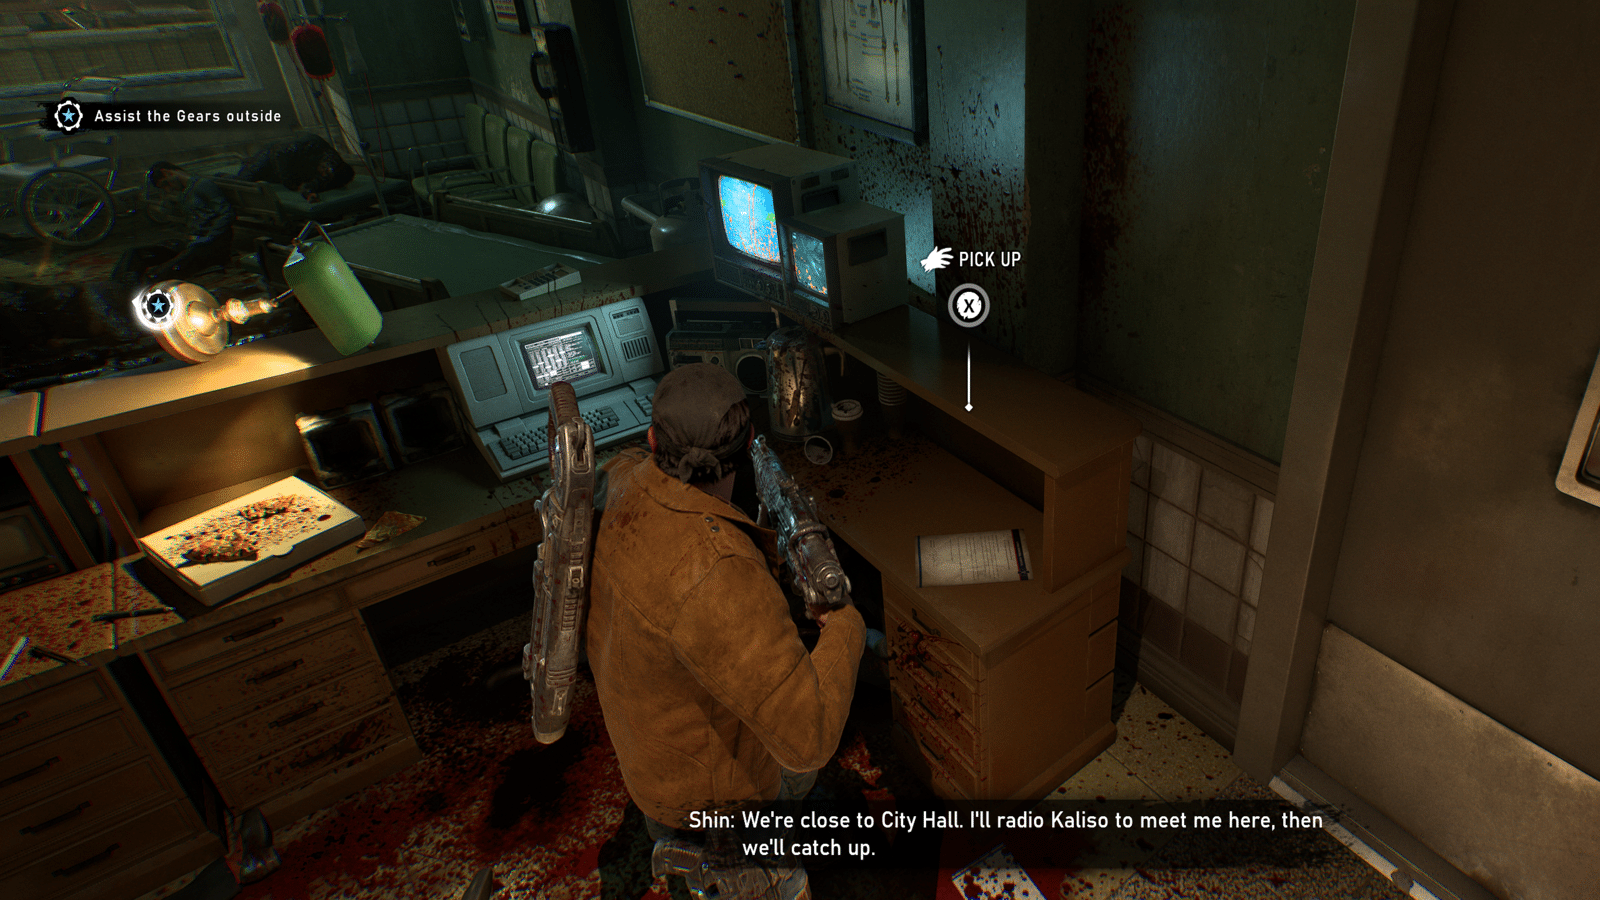
Once you enter the medical center, follow the corridor until you reach the office area.
Check the desk on the right for the Landa Memorial Medical Supplies Memo before continuing through the building.
COG Tags of Private Brick Rosso
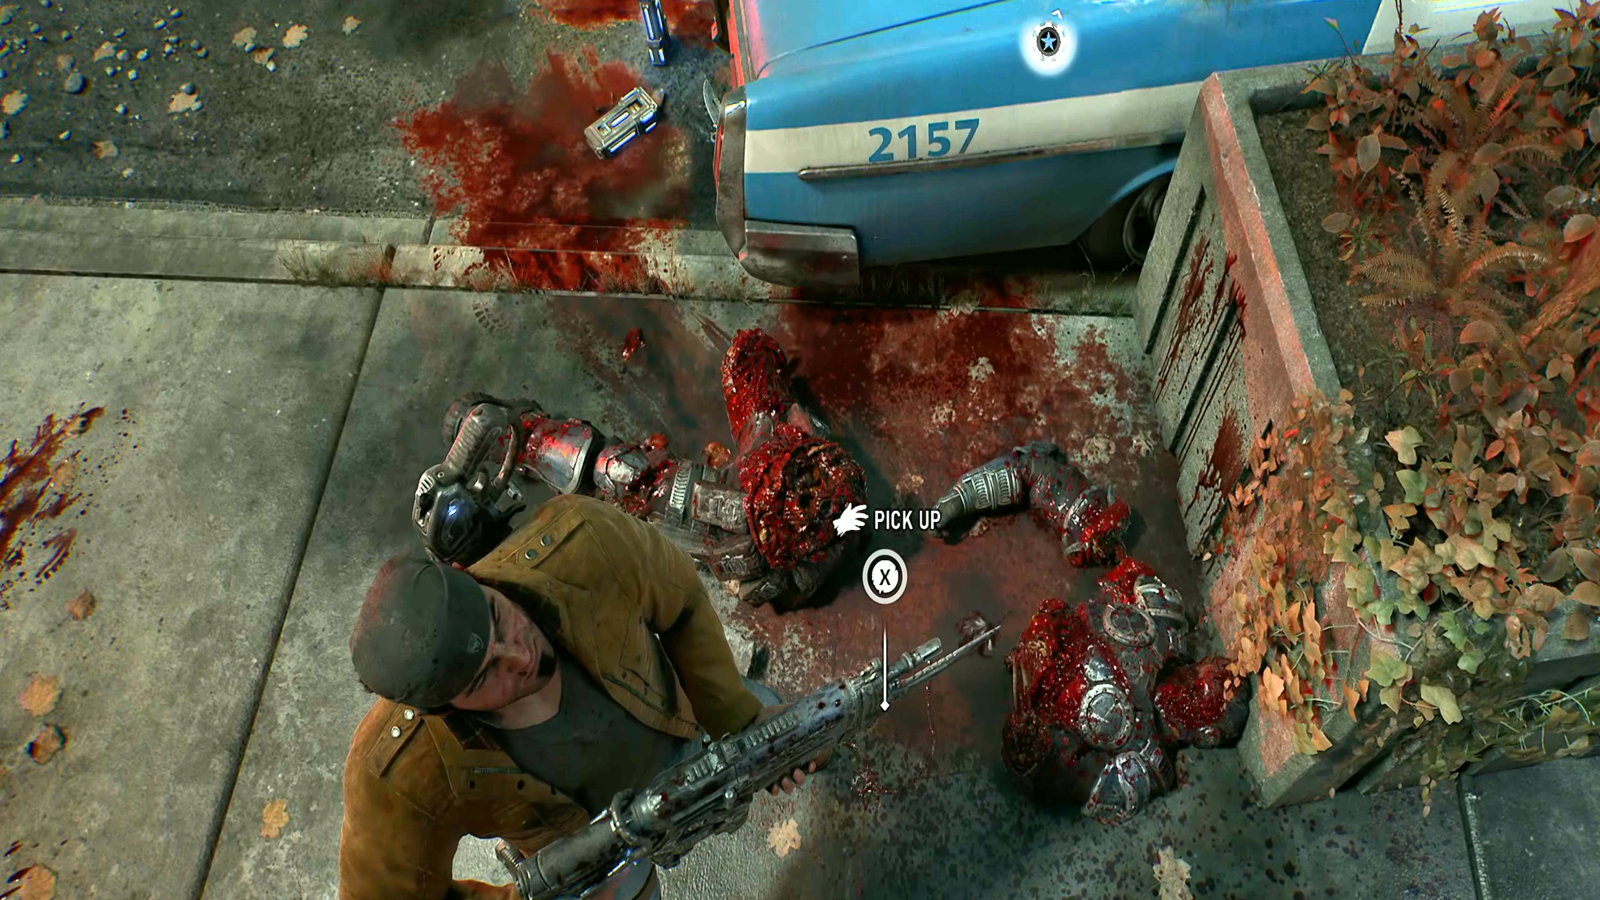
The final Act 1 collectible is near the entrance to Echo Park.
Before entering the park, look for the blue police car to the left of the entrance. Walk around to the other side of the car and check beside the fallen COG soldier to find the COG Tags of Private Brick Rosso.
Pick them up and you’ll have 13 of 13 Act 1 collectibles.
Can You Go Back for Missed Collectibles?
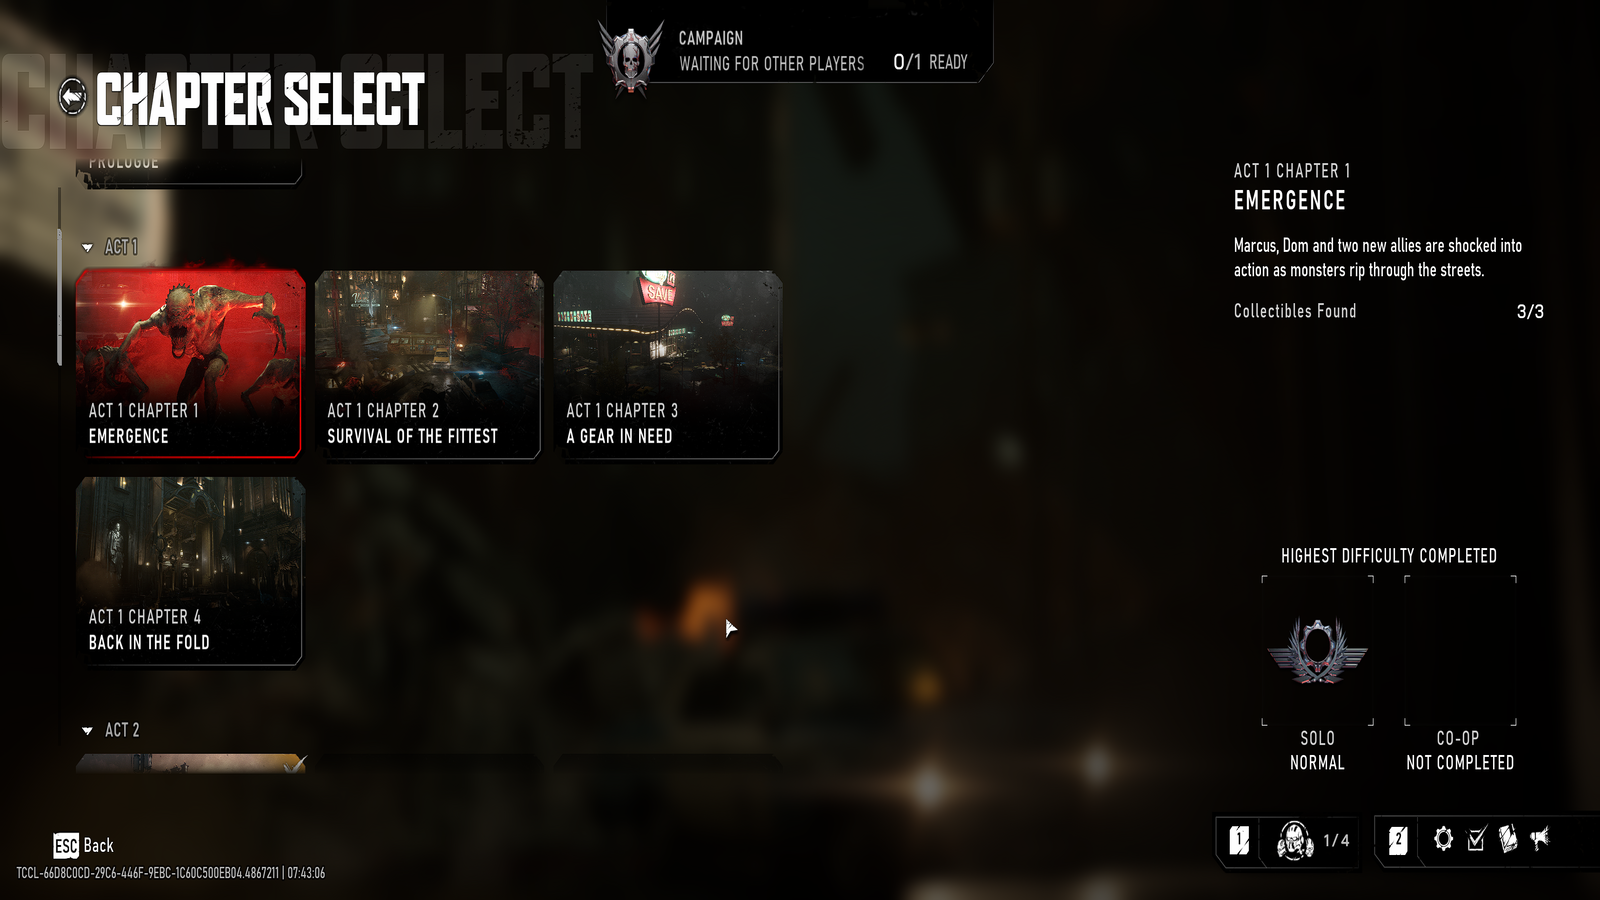
Yes. If you miss one, you can use chapter replay rather than restarting the entire Campaign.
Check the War Journal first to see which chapter still has an empty collectible slot. That makes cleanup much easier, especially once later Acts start opening into larger areas.
Act 1 is fairly linear, so it’s also a good time to get into the habit of checking side rooms, listening for the collectible cue, and tapping Tac-Com whenever a suspicious corner starts whispering sweet completionist nonsense at you.