This House of Tesla Chapter 3 Walkthrough takes you through every major puzzle in the chapter. From creating and using punch cards, restoring power to the furnace, and fixing water pressure, to complex crane rearrangements, train circuits, and repairing the piston, we’ll guide you step-by-step. Use this House of Tesla Chapter 3 Walkthrough to stay on track and keep the momentum going as the story unfolds.
The House of Tesla Chapter 3 Full Walkthrough
1) First Punch Card & Hatch
- Look left at the giant hatch. To its left, zoom into the green box with a crank.
- Spin the crank, then pull the cover right to reveal a symbol. Memorize it.
- Zoom out twice, pan right, and zoom into the workbench device.
- Pick up the paper on the left side.
- Use the buttons under the lights to recreate the symbol: 1, 1, 2, 3, 3.
- Pull the left lever (green light) to verify.
- Pull the right lever (green light) to print a Punched Card. Collect it.
- Return to the green box by the hatch. Insert the Punched Card into the slot, slide the panel shut, and crank it. The hatch unlocks.
- Zoom into the hatch, spin the wheel to open it, then descend the stairs.
2) Furnace Room – Rings, Coal & Matches
- At the far wall, zoom into the valve pipe and white rings. Solve the leak puzzle:
- Ring 1: Slide left ×1 → pull handle
- Ring 2: Slide right ×1 → pull handle
- Ring 3: Slide left ×1 → pull handle
- Ring 4: Slide right ×2 → pull handle
- Ring 5: Slide left ×1 → pull handle
- Turn the red valve until the gauge is in the green zone.
- Move left of the furnace. Pull the red switch to dump coal.
- Pick up the crumpled paper and Nixie Tube from the coal pile.
- In front of the furnace, grab the matches, light one, and toss it in. Cutscene plays → unlocks the Explosive Incident achievement.
3) Water Pressure Puzzle
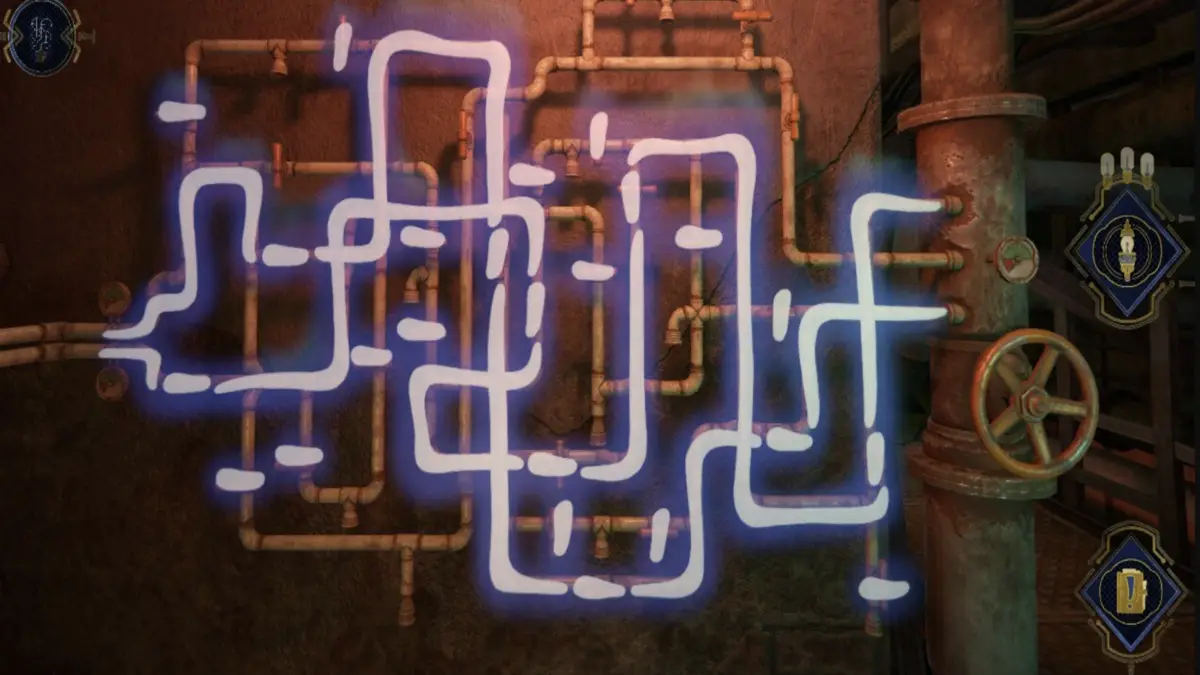
- After the cutscene, face the pipes on the wall. Spin the valve on the right to see leaks.
- Flip the taps left to right according to the blueprint above, then turn the valve to restore water pressure. Cutscene plays.
4) Second Punch Card & Crane Access
- Exit the furnace and return to the workbench. Insert the Nixie Tube in the empty slot.
- Across from it, open another punch card box near the hatch. Spin crank → note new symbol.
- At the workbench, recreate the symbol: 1, 1, 2, 2, 4, 4.
- Verify with left lever.
- Print card with right lever.
- Insert the new Punched Card in the second box. Crank it to unlock the crane doors. Grab the paper from the top of the box.
5) Crane, Dynamo & Power Rearrangement
- Enter the crane. Use controls to swap Dynamos:
- Move the right Dynamo into the train car.
- Move the left Dynamo into the right slot.
- Back out and pull the turbine lever (device with spinning light).
- Use crane to rearrange factory machines → restore power to platform control panel.
- Raise crane arm, activate Prototype to see blue lines.
- Position machines so orbs connect.
- Power the wagon platform; wagon moves onto tracks.
- Next, prop open the gate:
- Rearrange machines to clear track (one can go inside the wagon).
- Hit Gate button, wait a few seconds, then press Tracks button.
- Wagon should jam the gate open with the Dynamo.
- Pull and hold the main lever to lower yourself to the factory floor.
6) Switch Stand & Train Panel
- Zoom into the railroad switch stand on your left. Lift the cover.
- Spin the discs so the two wire bundles connect properly (top corner). Push contacts together → switch changes.
- At the train, zoom near the engine door. Look left at the panel with three buttons.
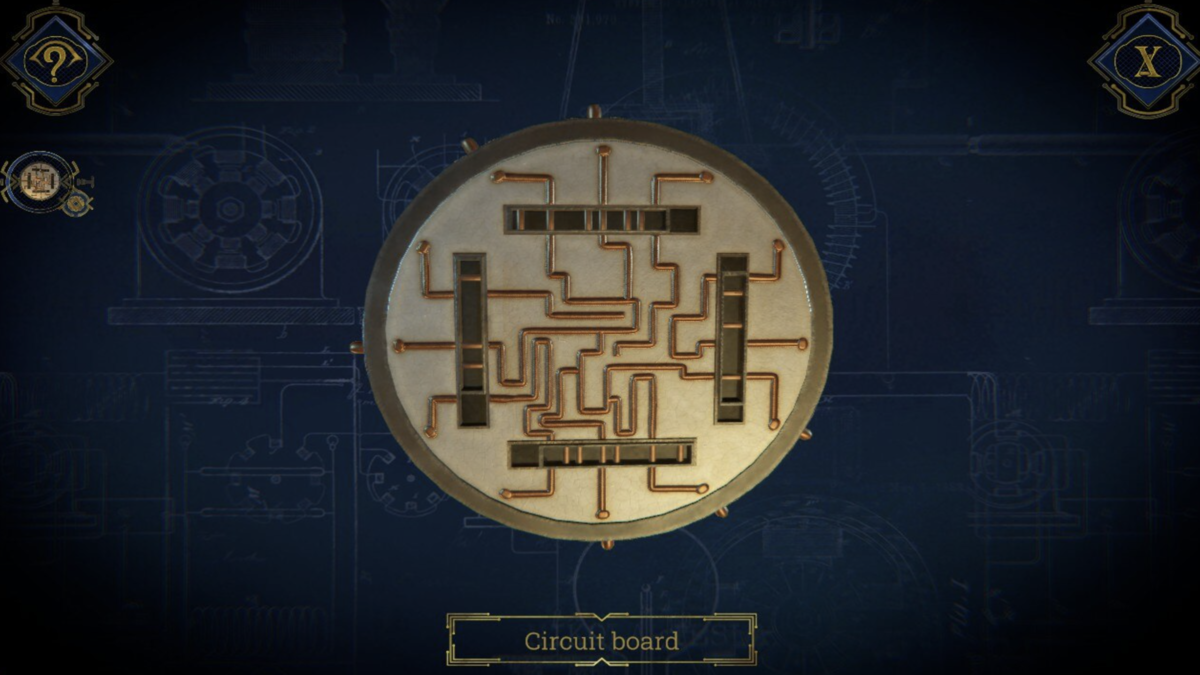
- Remove the circuit board from the right slot (yellow light).
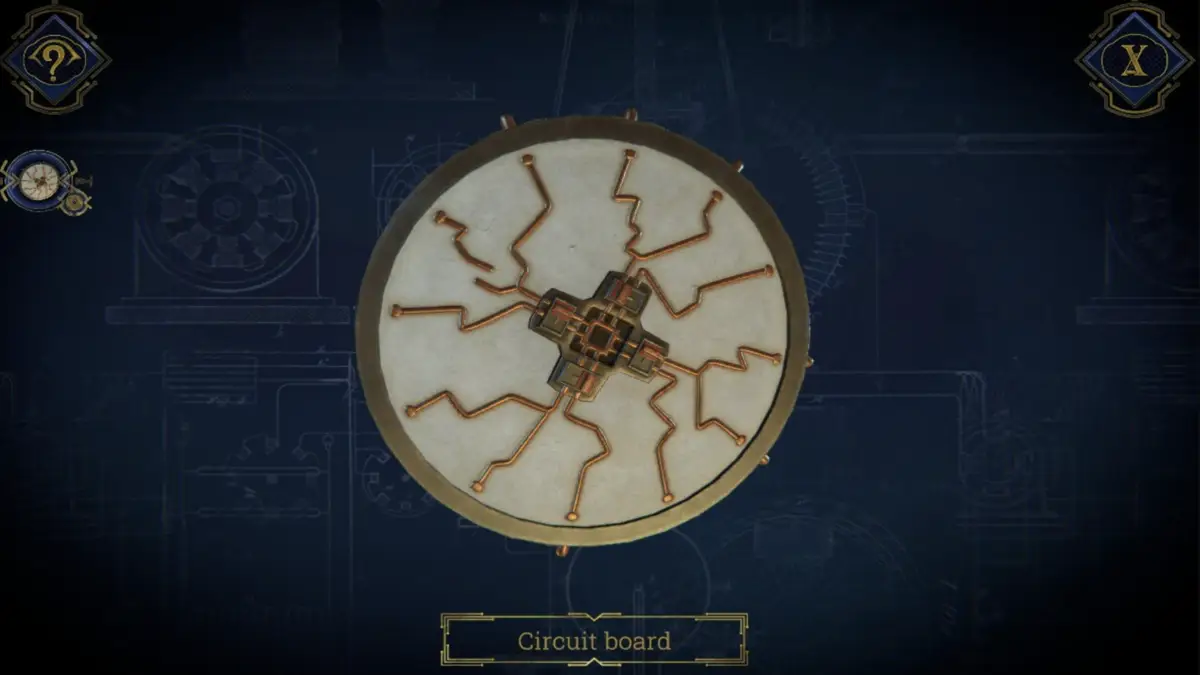
- In inventory, rotate ring to align connections.
- Use locomotive panel switches to set wiring correctly.
- Insert circuit board → the locomotive cover opens.
7) Yellow Door & Memory Puzzle
- Enter the locomotive cabin. Open the wooden door → find yellow door.
- Turn around, open the glass case, collect paper and Handle.
- Attach Handle to the yellow door and open it.
- Inside, solve the Memory Puzzle (choose Puzzle):
- First step: Move silver disc to bottom center.
- Second step: Place discs → horizontal line (middle left), three lines (top center).
- Third step: Place discs → three sails (bottom left), waves (top left), plain (middle right).
- Fourth step: Use handles to form picture: three rings left, two right.
- Choose Unacceptable during cutscene.
8) Ceramic Discs & Circuit Boards
- After memory, grab the book paper, another table paper, and the Ceramic Disc.
- Insert disc into nearby tube → machine makes a Circuit Board.
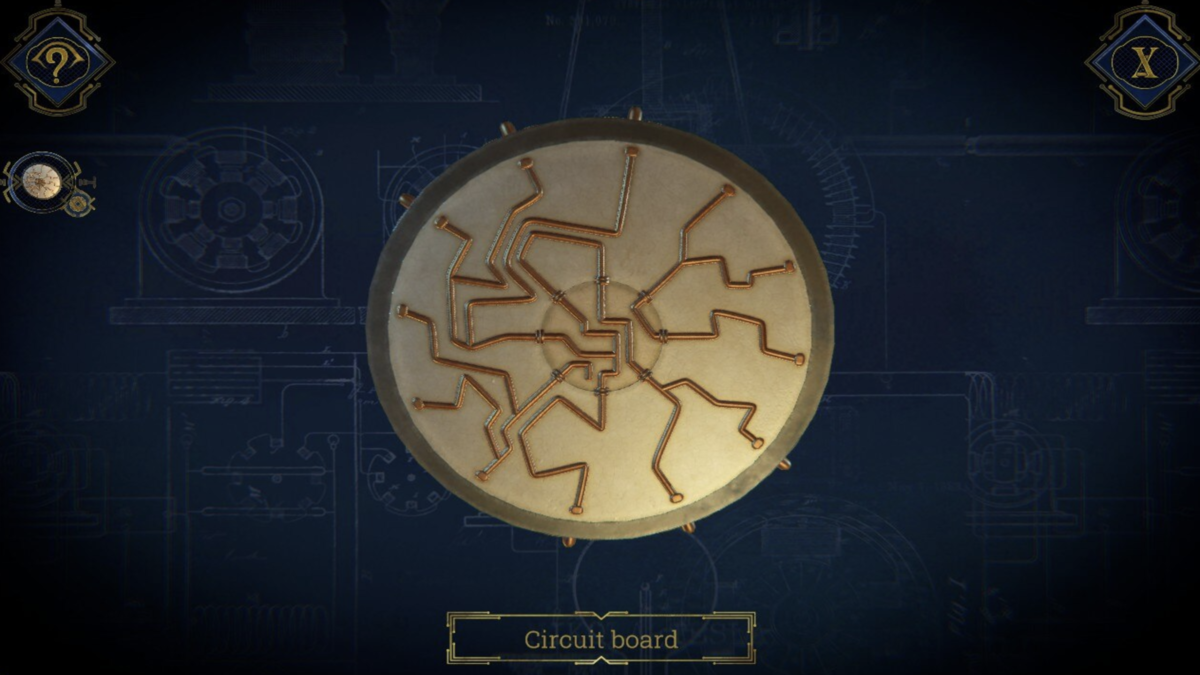
- Back outside, use it on the top train panel. Spin center piece to match correct wiring.
- Climb the ladder onto the locomotive roof. Solve the color-pair puzzle:
- Pairs: (3,8), (2,5), (4,6), (1,7).
- A Lever drops—collect it.
- Return inside, insert Lever into device by the memory book. Push forward → another Ceramic Disc drops.
- Place disc in tube, then use it outside for the final Circuit Board puzzle. Align ring and connectors properly.
9) Train Nose Puzzles
- Go to the front of the train. Spin the circular cover handle up.
- Solve arm puzzle: move arms outward clockwise until inner tube is clear. Spin it.
- Solve gear puzzle with the golden circle. Correct move sequence:
- Up → Left → Right
- Down → Left → Right
- Down → Down
- Left → Left → Down → Right → Right → Up → Right → Right → Down → Down (outer ring)
- Up (inner ring) → Up → Up → Right
10) Piston Repair & Ending Chapter 3
- Back in cab, open compressor. Collect Damaged Piston.
- In carriage room, place piston in machine. Use controls (knob, slider, lever) to realign fragments → create Repaired Piston.
- Reinstall piston into cab compressor.
- Check the track board. Use lever to align tracks with gate path.
- Inside cab, pull the silver two-pronged lever to trigger the cutscene and end Chapter 3.
That’s the end of Chapter 3! If you’re ready to continue, follow along with our House of Tesla Chapter 4 Walkthrough to keep unraveling Tesla’s mysteries. Otherwise, check out our The House of Tesla hub for more guides!