This House of Tesla Chapter 1 Walkthrough covers every step of the opening chapter. From shaping the mechanical key and unlocking Tesla’s desk to building the small Tesla Coil, solving the safe, and powering the junction box, this guide walks you through every puzzle with clear directions. Use this House of Tesla Chapter 1 Walkthrough as your go-to reference when you’re stuck, so you can focus on the atmosphere and story instead of getting lost.
The House of Tesla Chapter 1 Full Guide
Stuck in Chapter 1 of The House of Tesla? Follow this step-by-step walkthrough to solve every puzzle and unlock the door to Chapter 2.
1. Get the Mechanical Key
- Pick up the Mechanical Key from the newspaper with spilled coffee.
- Interact with the key until it’s correctly shaped.
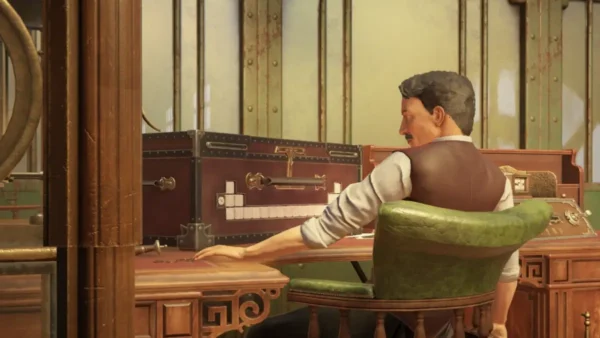
2. Unlock the Roll Top Desk
- Turn left and zoom in on the Roll Top Desk.
- Focus on the middle keyhole and drag the Mechanical Key onto it.
- Spin the key to unlock the desk, then drag the roll-top upward to open it.
- Take the Wooden Rod from inside.
3. Find and Use the Metal Triangle Pieces
- Zoom into the right metal corner of the desk and pull it to reveal a Metal Triangle.
- Back out, then zoom in on the left rear corner and pull the similar triangle to open one half of the back panel.
- On the right side of the desk, place the Metal Triangle into the missing slot and pull it to open the other half.
- Solve the sliding puzzle by aligning the pieces with the image in the background.
- Collect the Coiled Wire Ring.
4. Use the Vice to Get the Coiled Wire Rod
- Look left and zoom into the desk with the Vice.
- Zoom in again and drag the Wooden Rod onto the Vice’s handle.
- Spin the handle to the left until the Coiled Wire Rod is free, then collect it.
5. Build the Small Tesla Coil
- Interact with the Coiled Wire Rod in your inventory.
- Drag the Coiled Wire Ring onto the top of the rod to create the Small Tesla Coil.
6. Activate the Device to Get the Receiver
- Find the spinning device between the safe and lamp.
- Drag the Small Tesla Coil to the center of the device.
- Spin the wheel until the electricity meter fills and the Receiver pops up. Add it to your inventory.
7. Unlock the Safe
- Drag the Receiver onto the round slot on the right wall of the safe.
- Spin the wheel again to send electricity to the Receiver and unlock the safe.
- Open the safe and interact with the device to trigger a cutscene.
- Choose “Independent” when prompted.
8. Assemble the Prototype
- Interact with Tesla’s schematics inside the safe.
- Grab the Lightbulb and the Unfinished Prototype.
- Open the Prototype in your inventory.
- Rotate the lightbulb holder until it’s at the bottom of the circle.
- Drag the Lightbulb into place to complete the Prototype.
9. Solve the Junction Box Puzzle
- Use the Prototype on the glowing blue lines and drag the power to the door.
- Zoom into the Junction Box.
Puzzle Instructions:
- Flip the left lever up 5 times – first wire set aligned.
- Move the top lever to the first wheel (stops spinning).
- Flip the left lever up 3 times – second set aligned.
- Move the top lever to the fourth wheel.
- Flip the left lever up 2 times – third set aligned.
- Move the top lever to the third wheel.
- Flip the left lever up 4 times – fourth set aligned.
The puzzle completes automatically and the door to Chapter 2 opens.
10. Exit Chapter 1
- Click on the podium just outside the open door to leave Chapter 1.
That wraps up Chapter 1! Ready to move deeper into Tesla’s world? Continue your journey with our House of Tesla Chapter 2 Walkthrough and keep the puzzles flowing.